Start with a force restart using the sequence for your model. If a progress bar sits under the logo, leave the phone plugged in and give it up to an hour before touching anything else. If the screen never moves and force restart does nothing, connect to a computer and use Recovery Mode, choosing Update, not Restore. Save DFU mode and a full restore for last, since both wipe the device.
TL;DR:
- Waiting up to an hour with a progress bar under the logo is recommended, as it indicates a background software process still running.
- Always connect to a power source during troubleshooting to prevent battery-related issues from worsening the problem.
- Recovery Mode with the Update option fixes most software-related freezes without data loss, but Restore erases everything as a last resort.
- DFU mode rewrites firmware and can fix issues Recovery Mode cannot, but it always results in data loss and should only be attempted after backups.
- Hardware problems like dead batteries, water damage, or failed components prevent recovery mode and DFU from working, requiring professional repair.
Table of Contents
- What To Do When Your iPhone Is Stuck on the Apple Logo
- How Do You Use Recovery Mode to Fix It?
- What Does DFU Mode Actually Do to Your iPhone?
- When Is It a Hardware Problem, Not a Software One?
- An Editorial Take on the Logo Freeze Panic
- Get On-Site Help When Software Fixes Run Out
- Where to Verify This Information
- Sources
- FAQ
What To Do When Your iPhone Is Stuck on the Apple Logo
Before you touch Recovery Mode or panic about lost photos, run through the fixes that cost you nothing and risk nothing. Most Apple-logo freezes trace back to an interrupted software update, not a dying phone, and the fix is often just patience plus power.
Force restart, by model group:
- iPhone 8 and later (including iPhone SE 2nd/3rd gen): Press and quickly release Volume Up, then press and quickly release Volume Down, then hold the Side button until the Apple logo appears.
- iPhone 7 and 7 Plus: Hold the Side button and Volume Down button together until the logo shows.
- iPhone 6s and earlier (including original iPhone SE): Hold the Home button and the Side (or Top) button together until the logo appears.
If you see a progress bar under the logo instead of a frozen, static image, that’s actually a good sign. It usually means a software update or restore is genuinely running in the background, and Apple’s own guidance warns that the bar can appear stalled for a long stretch even while it’s working. Interrupting it midway is what turns a slow update into a corrupted one.
The practical rule: give a progress bar up to one hour before you intervene. Apple support specifically tells users to wait at least that long, connected to power, before moving to Recovery Mode. If the bar hasn’t budged one pixel after 60 minutes, it’s stuck for real and it’s time to act.
If there’s no progress bar at all, just a plain logo that never changes, don’t wait an hour. Move on to charging checks and then Recovery Mode.
Charging and hardware checks:
- Plug into a wall outlet, not a laptop USB port, using a cable you know works.
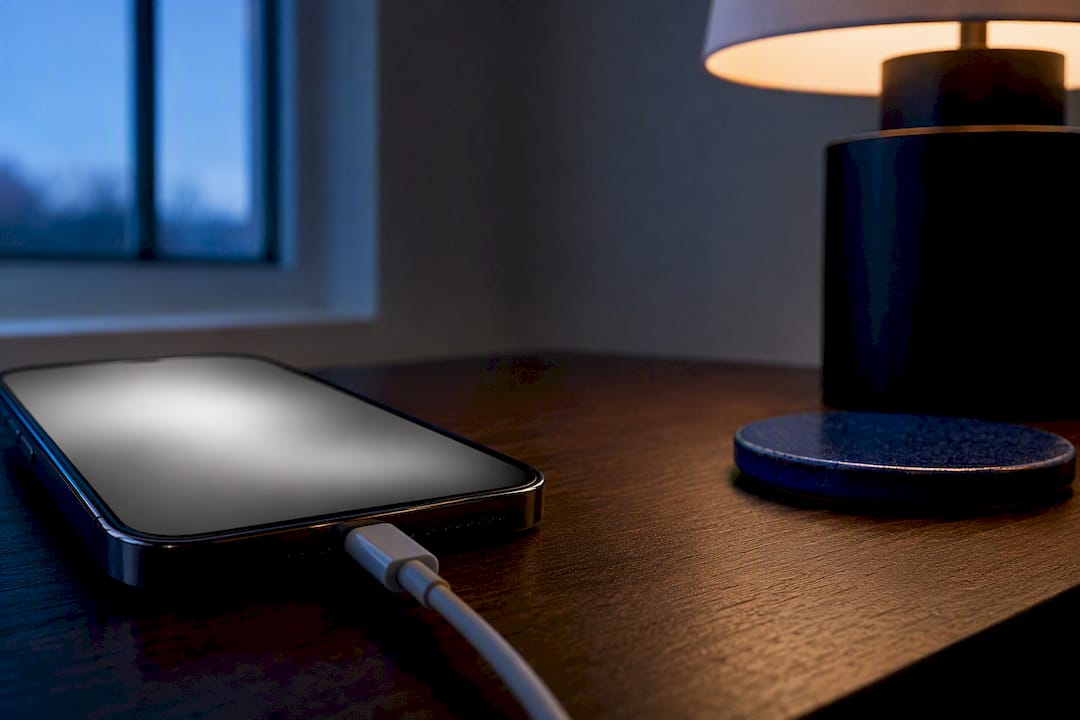
- Let it charge for 30 to 60 minutes before trying anything else. A deeply discharged battery is a surprisingly common cause of a logo hang that looks far scarier than it is.
- Inspect the charging port for lint, corrosion, or bent pins with a flashlight.
- Try a second cable and a second outlet to rule out a bad accessory.
- If you recently dropped the phone or got it wet, note that. It matters later if software fixes don’t work.
Pro Tip: Keep the phone connected to power the entire time you’re troubleshooting. A force restart or Recovery Mode attempt that runs out of battery mid process is one of the more avoidable ways to make things worse.
How Do You Use Recovery Mode to Fix It?
When force restart and charging don’t clear the logo, Recovery Mode is the next step, and it’s designed to fix the phone without erasing anything.
- Turn off the iPhone (or let it stay in its stuck state) and connect it to a computer with a cable.
- Open Finder on macOS Catalina or later, or iTunes on Windows or older macOS versions.
- Enter Recovery Mode using the model-specific button sequence: iPhone 8 and later, hold Side plus either volume button until you see the recovery screen; iPhone 7 series, hold Side and Volume Down; iPhone 6s and earlier, hold Home and the Side or Top button.
- Wait for your computer to detect the device in Recovery Mode. Finder or iTunes will prompt you with two options.
- Choose Update, never Restore, first. Update reinstalls iOS without touching your personal data, while Restore wipes the device clean.
- Let the download and install finish uninterrupted. This can take a while depending on your connection speed.
One detail catches people off guard: Recovery Mode has a roughly 15-minute window before the iPhone can exit it on its own. If your download is slow and the phone drops out of Recovery Mode mid-transfer, that’s not a failure, it’s a timeout. Let the download finish on the computer side, then simply re-enter Recovery Mode and retry the Update. A wired ethernet connection instead of Wi-Fi speeds this up considerably if you have one available.
If Finder recognizes your iPhone right away, the Update path resolves most cases tied to a botched update, with your data intact. Force restart followed by a Recovery Mode Update clears the majority of these freezes without ever touching your photos or messages. Only if Update fails repeatedly, or Finder can’t detect the device even after you’ve swapped cables and USB ports, does Restore become the last software option, and Restore means starting from a blank phone.
What Does DFU Mode Actually Do to Your iPhone?
DFU stands for Device Firmware Update, and it goes deeper than Recovery Mode. Recovery Mode talks to iOS through the normal bootloader. DFU mode bypasses the bootloader entirely and rewrites the firmware directly, which is why it can sometimes revive a phone that Recovery Mode can’t reach.
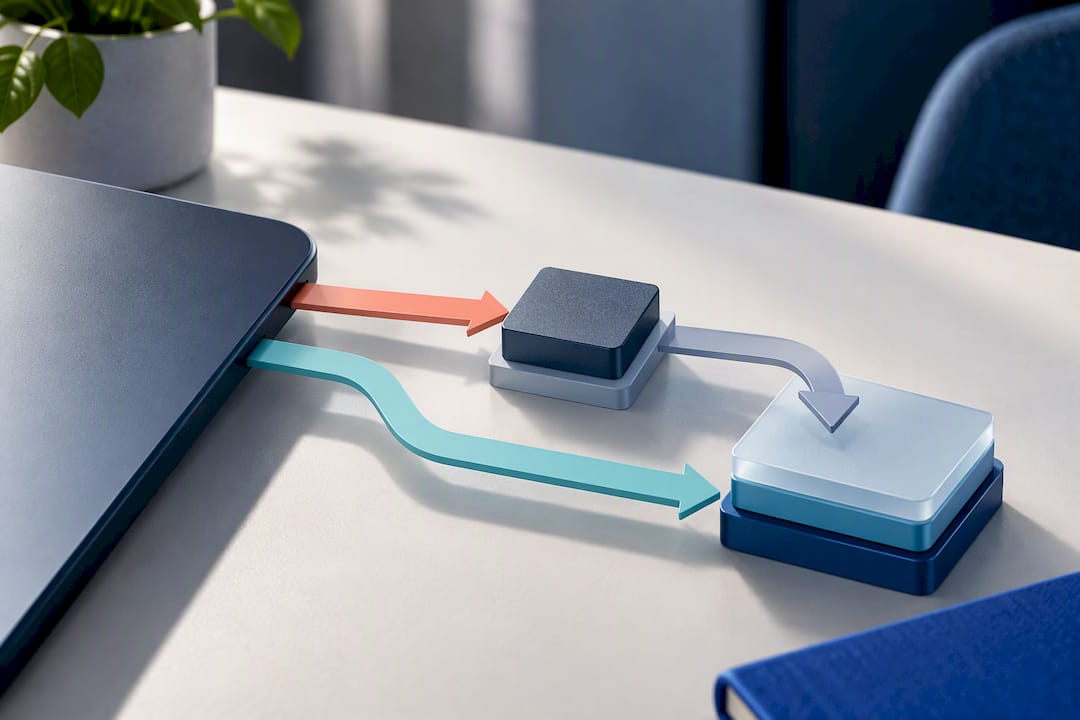
That power comes with a fixed cost: DFU mode always erases the device. There’s no Update-only version of DFU the way there is with Recovery Mode. Treat it strictly as a last resort, and only attempt it once you’ve confirmed a recent backup exists, whether through iCloud or a computer.
Before jumping to DFU:
- Try the Recovery Mode Update path two or three times, especially if you suspect a download timeout rather than a real failure.
- Write down any error code that appears (like 4013 or 9), since a technician will ask for it.
- If the phone won’t even enter DFU or Recovery Mode at all, stop trying. That’s usually a sign of hardware trouble, not a software glitch DFU can fix.
Pro Tip: If you’ve never done a manual DFU entry before, look up the exact button timing for your specific model first. Getting the sequence wrong just kicks you back to Recovery Mode instead, which isn’t dangerous but wastes time. For a closer look at when to escalate from Recovery to DFU, see this breakdown of DFU versus Recovery Mode.
When Is It a Hardware Problem, Not a Software One?
Software fixes handle most Apple-logo freezes, but not all of them. If your iPhone can’t even enter Recovery Mode or DFU mode after several careful attempts, or if it shuts itself off the moment you unplug it from power, that points toward hardware rather than a corrupted update.
Watch for these signals:
- The phone won’t power on at all without being plugged in, suggesting a failing battery.
- You see moisture under the screen, a corroded port, or the phone was recently dropped or dunked.
- Recovery Mode and DFU both fail to detect the device even after swapping cables, ports, and computers.
Once software recovery fails repeatedly, hardware faults like a failing battery, damaged charging port, or water intrusion become the likely culprit, and that’s a board-level or component issue no amount of restarting will touch. Common fixes at that stage include battery replacement, charging port repair, and deeper board diagnostics. If you suspect liquid got inside the device, resist the urge to keep powering it on repeatedly. This guide to water damaged phones covers what to do (and avoid) in the meantime.
Before booking a repair, gather your Apple ID information, note when the problem started, and confirm whether you have a recent backup. It saves time on-site.
An Editorial Take on the Logo Freeze Panic
Most people jump straight to the scariest fix available, and that’s exactly backward. The right order is force restart, then charge and wait, then Recovery Mode with Update selected, and only then Restore or DFU if nothing else has worked.
We’d add one rule of thumb from watching these cases play out: cap yourself at two or three Recovery Mode attempts before you stop and get hands-on diagnostics. Endless retries on a phone that clearly isn’t detecting properly usually means a cable, port, or hardware issue, not a software one that needs one more try. Write down any error code you see. It tells a technician in seconds what would otherwise take them ten minutes to diagnose from scratch.
— Michael
Get On-Site Help When Software Fixes Run Out
Repair Genius is the alternative to hauling a frozen iPhone into a mall kiosk and waiting around. A technician comes to you locally, runs data-first diagnostics on the spot, and gives you a transparent quote before touching anything, with no hidden fees tacked on afterward.

If you’ve run through force restart, charging, and a Recovery Mode Update without any luck, or if water damage or a dead battery is the likely cause, that’s exactly when professional hands make sense rather than another DFU attempt. Repair Genius handles iPhone repair services including battery replacement, charging port repair, and board-level diagnostics, all backed by warranty on parts and labor. Before your visit, have your Apple ID ready and confirm whether your data is backed up. If it isn’t, transferring your contacts beforehand where possible is worth the extra few minutes. Same-day fixes are often possible when the right part is in stock, and the diagnosis and quote happen right at your location before any repair work begins. Book a visit and get a straight answer on what’s actually wrong with your phone.
Where to Verify This Information
Apple’s own support article on the frozen logo and progress bar covers the wait-then-force-restart-then-Recovery-Mode sequence directly from the source. For the technical difference between Update and Restore, along with DFU’s data-loss risk, MakeUseOf’s fix guide and ecoATM’s explainer on DFU mode both go deeper into the mechanics. A step-by-step reference from a device-repair partner is also available at Tir.
Sources
- If your iPhone freezes on the Apple logo
- Fix iPhone stuck on apple logo
- iPhone Stuck on Apple Logo? Complete Fix Guide (2026)
FAQ
What Should I Do if My iPhone Is Stuck in a Boot Loop?
A boot loop, where the phone restarts and shows the Apple logo repeatedly, usually starts with a force restart for your specific model. If that doesn’t break the cycle, connect to a computer and use Recovery Mode, selecting Update to reinstall iOS without erasing your data.
My iPhone Is Stuck on the Apple Logo. How Do I Fix It?
Force restart first, then plug into a wall charger for 30 to 60 minutes if the screen stays blank. If a progress bar appears, Apple recommends waiting up to an hour before trying Recovery Mode with Update selected.
How Do I Fix a Phone That’s Frozen on the Logo Screen?
Try the correct force restart sequence for your iPhone model, since older and newer models use different button combinations. If that fails and there’s no moving progress bar, Recovery Mode with the Update option is the next safe step, and it typically clears the freeze without wiping your data.
How Do You Unfreeze an Unresponsive iPhone?
Hold the correct force restart buttons for your model until the Apple logo appears, though the time until the Apple logo appears can vary. If the phone stays completely unresponsive and won’t enter Recovery Mode at all, that often points to a hardware issue like a dead battery, and Repair Genius can run on-site diagnostics to confirm it.
Does Recovery Mode Erase My Data?
No, choosing Update within Recovery Mode reinstalls iOS while leaving your photos, messages, and apps intact. Only Restore, or DFU mode, wipes the device completely, so always try Update first.
Recommended
- 10 Minute iPhone Checklist to Fix ‘Storage Full’ and Keep Photos
- Advanced iPhone Users: Start with Recovery, Try DFU After 3–5 Attempts
- How to Transfer Contacts Before Phone Service