Most laptops that won’t boot respond to a five-minute power drain and peripheral disconnect, so start there before touching anything else. If you see smoke, smell burning, or the screen stayed black through a failed BIOS update, stop immediately and call a technician. For everything else, work through the checklist below in order, and back up any drive you can still access before you try commands like bootrec or chkdsk. Manufacturer guides from Dell and HP, plus Microsoft’s own WinRE tools, cover almost every scenario short of a dead motherboard.
TL;DR:
- Disconnect all external devices, including USB drives and docking stations, to prevent boot device conflicts that are common causes of startup failure.
- Power-drain the laptop by unplugging it, removing a removable battery, and holding the power button for 15 to 30 seconds to clear residual electrical charge.
- When hardware checks are inconclusive, entering Windows Recovery Environment and running Startup Repair or executing bootrec commands can fix most bootloader or corruption issues.
- Signs like blinking LED codes, beeps, or hang points during startup provide specific hardware fault clues, especially if storage drives or RAM are involved.
- If smoke, burning smells, or failed BIOS updates are present, immediately stop troubleshooting and consult a professional to prevent further damage or data loss.
Table of Contents
- Laptop Won’t Start? Run This 6-Step Checklist
- What Does Your Laptop’s Black Screen or Freeze Actually Mean?
- Quick Hardware Fixes to Try Before Anything Else
- How Do You Fix a Bootloader Problem With Windows Recovery Tools?
- When Is a No-Boot Laptop a Hardware Problem?
- When Should You Stop Troubleshooting and Call a Professional?
- What a Technician Actually Checks First
- My Honest Take: The Three Checks That Actually Matter
- Get Your Laptop Diagnosed On-Site Today
- Sources
Laptop Won’t Start? Run This 6-Step Checklist
Before you assume the worst, run through these six checks. Most take under two minutes each, and together they resolve a large share of no-boot cases without opening the case.
- Disconnect everything external. Pull all USB drives, SD cards, external hard drives, and docking stations. A stray boot device is one of the most common reasons a laptop won’t start.
- Power-drain the laptop. Unplug the AC adapter, remove the battery if it’s removable, and hold the power button for 15 to 30 seconds to clear residual charge.
- Confirm power is actually reaching the machine. Check the charging LED, try a different outlet, and inspect the adapter cable for kinks or fraying.
- Test with an external monitor. This tells you whether the laptop is booting with a dead screen or genuinely failing to start.
- Listen and watch for codes. Count beeps or note blinking LED patterns; these point to specific failed components.
- Try three interrupted boot attempts. Power on, then hold the power button to force a shutdown as soon as the logo appears. Repeating this three times usually forces Windows into recovery mode automatically.
What Does Your Laptop’s Black Screen or Freeze Actually Mean?
The exact moment your laptop freezes tells you more than almost anything else you can check. A black screen right after you hit the power button is a different animal than one that shows up after the login screen, and treating them the same wastes time.
A black screen with a visible mouse cursor usually points to a graphics driver problem or a corrupted user profile rather than a boot failure at all. Microsoft’s own guidance recommends restarting the graphics driver with Win+Ctrl+Shift+B before doing anything else. If you hear a beep and the screen flashes, then goes dark, that’s a display or driver issue, not a dead machine.
A hang on the manufacturer’s logo (Dell, HP, or whichever badge shows first) almost always means the firmware is stuck detecting hardware, most often the storage drive. This is different from a screen that never lights up at all, which usually means power isn’t reaching the display or motherboard.
A spinning dots animation that loops endlessly, rather than progressing to the desktop, signals corrupted boot files or a damaged Boot Configuration Data (BCD) store. This is exactly the kind of failure that Startup Repair and bootrec commands are built to fix.
Beep codes and blink patterns are worth writing down even if you don’t understand them yet:
- One long beep repeated: often memory (RAM) not seated correctly.
- Continuous short beeps: frequently a motherboard or power issue.
- No beep at all with no display: check power delivery first.
- A blinking amber or white LED near the power button: many laptops use this to signal a specific hardware fault code.
According to a Microsoft analysis of Windows startup phases, the stage where your machine hangs is the single biggest clue to the cause. Note it, photograph the screen if you can, and keep that detail handy. It’s the first thing a technician will ask about.
Quick Hardware Fixes to Try Before Anything Else
Hardware problems cause a surprising share of “no-boot” complaints that people assume are software failures. Work through these before touching Windows recovery tools.
- Do the power drain properly. Unplug the charger, remove a removable battery, and hold the power button for a full 15 to 30 seconds. This discharges capacitors that can hold a laptop in a bad state even with no battery installed.
- Swap the charger if you have access to a second one. A failing adapter often shows a charging light but still can’t deliver enough current to boot. If you’re stuck without a spare, a portable laptop power bank with fast charging can confirm whether the built-in charger is the problem.
- Remove every external device, including anything plugged into USB, an SD card left in the reader, or a docking station. Boot order confusion from an external drive is a common, easily missed cause.
- Test on an external monitor. Plug in an HDMI or DisplayPort cable and see if an image appears. If it does, your internal screen or its cable is the problem, not the boot process.
- Reset the graphics driver with Win+Ctrl+Shift+B if you get a picture but it’s black or frozen after login.
One caution that trips people up: if your laptop is mid-update and shows a progress screen, do not force a shutdown. HP’s support documentation warns that interrupting a firmware update can leave the BIOS chip permanently corrupted, turning a simple update into a motherboard replacement.
Pro Tip: Time the BIOS update screen with your phone. Some vendors’ recovery processes legitimately run for 20 to 40 minutes with no visible progress bar movement, and panicking early is what causes most self-inflicted “bricked” laptops.
How Do You Fix a Bootloader Problem With Windows Recovery Tools?
If the hardware checks above pass but Windows still won’t load, the fix usually lives inside the Windows Recovery Environment (WinRE), not the operating system itself.
Force your way into WinRE by powering on the laptop and interrupting the boot three times in a row, right when the logo appears. Windows will detect the failed pattern and load Automatic Repair automatically. If you have installation media on a USB drive, you can boot from that instead and choose Repair your computer.
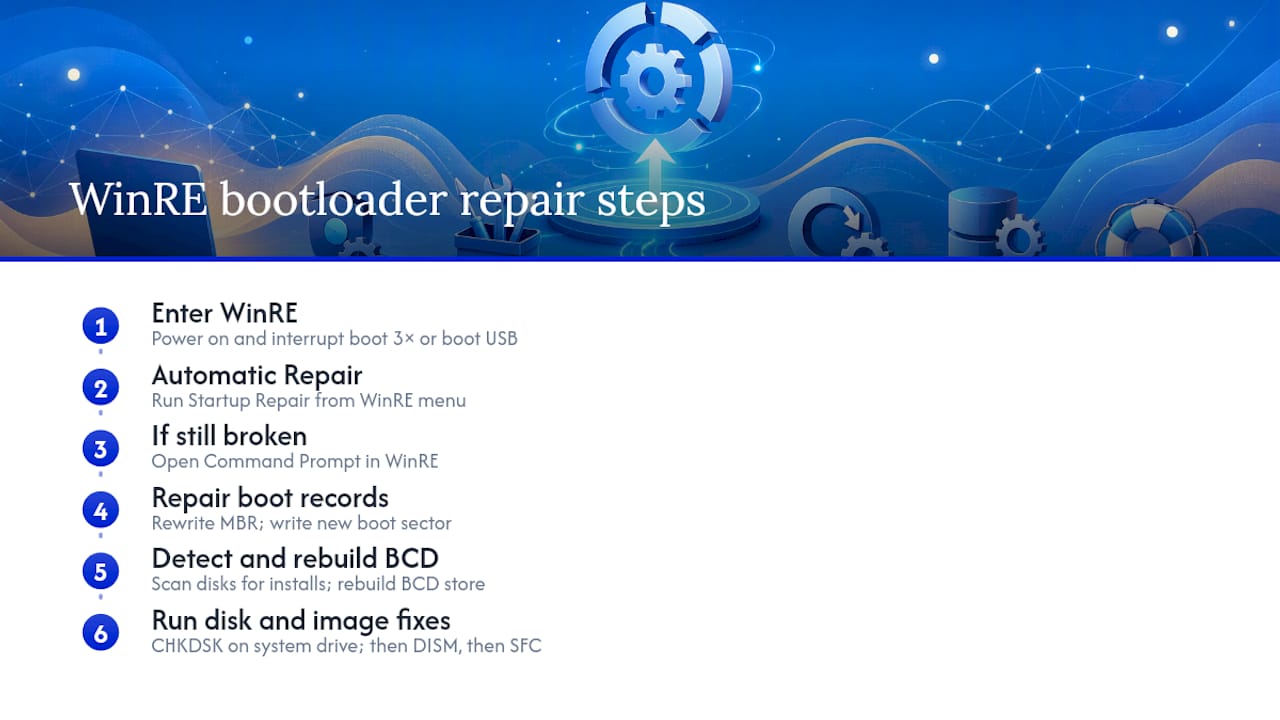
Once inside WinRE, run Startup Repair first. It’s an automated tool that scans for common startup blockers and fixes many of them without any typing required. If it reports success but the laptop still won’t boot, or if it fails outright, move to the command line.
Open Command Prompt from the WinRE menu and run this sequence, in this exact order:
bootrec /fixmbrrewrites the master boot record without overwriting the existing partition table.
bootrec /fixbootwrites a new boot sector to the system partition.
bootrec /scanosscans all disks for Windows installations compatible with Boot Manager.
bootrec /rebuildbcdrebuilds the Boot Configuration Data store from scratch, which fixes most “spinning dots forever” failures.
If those commands don’t resolve it, run chkdsk /f /r on your system drive to scan for and repair bad sectors, then follow with DISM /Online /Cleanup-Image /RestoreHealth and sfc /scannow to repair corrupted system files. Run DISM before SFC. DISM repairs the underlying image that SFC pulls clean files from, so reversing the order often means SFC fails silently.
If none of this works, System Restore rolls back to a prior working state, while Reset this PC or a clean install are the last resorts. Back up any files you can still reach before trying either, since a reset can wipe your data.
When Is a No-Boot Laptop a Hardware Problem?
Software fixes only work if the underlying hardware is functioning. If Startup Repair and the bootrec sequence didn’t help, it’s time to look deeper.
- Reseat RAM modules by removing and reinserting them firmly; a loose stick causes random boot failures and unexplained beep codes.
- Check that your internal drive is detected in BIOS/UEFI setup at all. If it’s missing entirely, the operating system was never going to load no matter what commands you ran.
- On laptops with M.2 NVMe drives, a loose retention screw or a module that isn’t fully seated in its slot is a surprisingly common cause of a “no drive detected” error.
- Run the manufacturer’s built-in diagnostics (Dell SupportAssist or HP PC Hardware Diagnostics) from a pre-boot menu, usually accessed by tapping F12 or Esc during startup. These generate failure IDs that point directly to a failed component.
- If BIOS recovery is available on your model, follow the manufacturer’s exact key combination. Interrupting this process is one of the few ways a software glitch turns into a full motherboard replacement.
Pro Tip: If UEFI diagnostics return a specific failure ID for your storage drive, write it down exactly. That code alone can save a technician 20 minutes of testing you’ve already done for them.
A failed memory test, a drive the BIOS can’t see under any circumstances, or diagnostics that report a dead storage controller are your signal that the fix is now a parts problem, not a settings problem. Our laptop motherboard failure guide covers what those symptoms look like in more depth.
When Should You Stop Troubleshooting and Call a Professional?
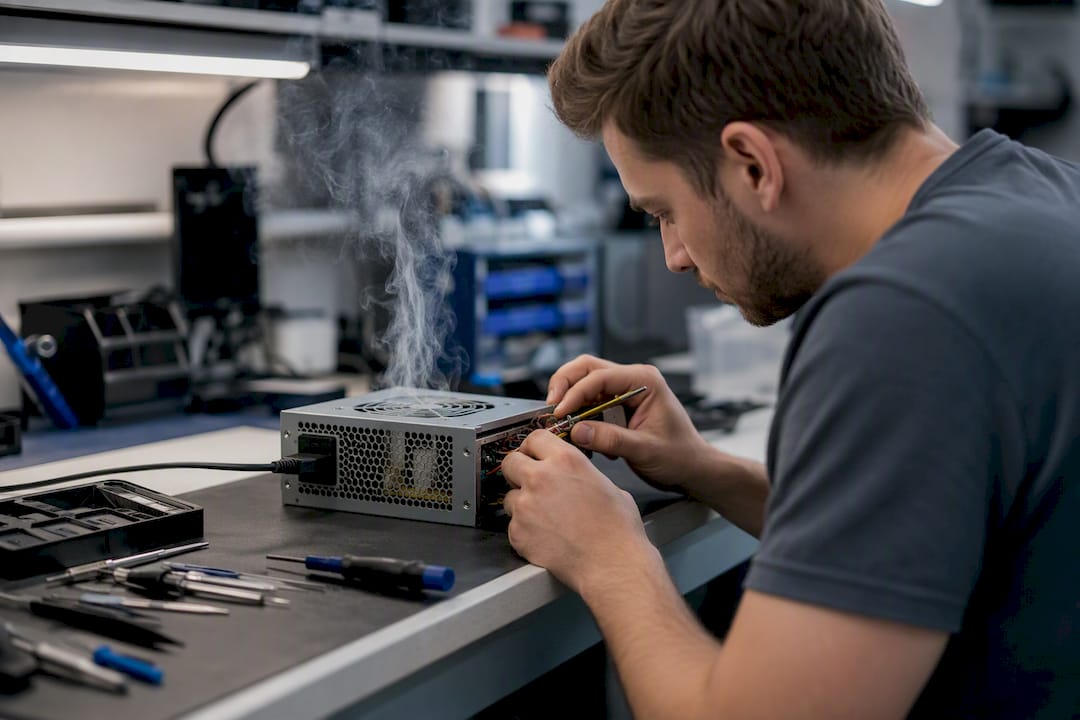
Some warning signs mean you should stop immediately: any smell of burning, visible smoke, a BIOS update that failed mid-flash, or a drive that’s developed repeated bad sectors during a chkdsk scan. Pushing further at that point risks losing data that could otherwise be recovered.
If the drive itself is failing and the data on it matters, resist the urge to pull it and plug it into another machine yourself. Professional data recovery has a much higher success rate when the original drive hasn’t been repeatedly power-cycled or written to.
Before a technician visit:
- Note exactly which stage the laptop hangs at, and any beep codes or blink patterns you observed.
- List any recent changes: Windows updates, new software, a dropped laptop, or a BIOS update attempt.
- Have your charger and any error codes from UEFI diagnostics ready.
- Back up anything you can still access, even a partial copy is better than none.
Repair Genius handles this exact triage on-site in Orlando and Winter Park, with same-day appointments, transparent quotes before any work starts, and a strict process for keeping your data secure throughout the repair. Our checklist for repair versus replacement is a good next read if you’re also weighing whether the laptop is worth fixing at all.
What a Technician Actually Checks First
On a service call, the flow is almost always the same: confirm power delivery, then check whether the machine reaches BIOS at all, then run quick swap tests with a known-good charger and RAM stick before opening anything further. Most house-call diagnostics take under 20 minutes.
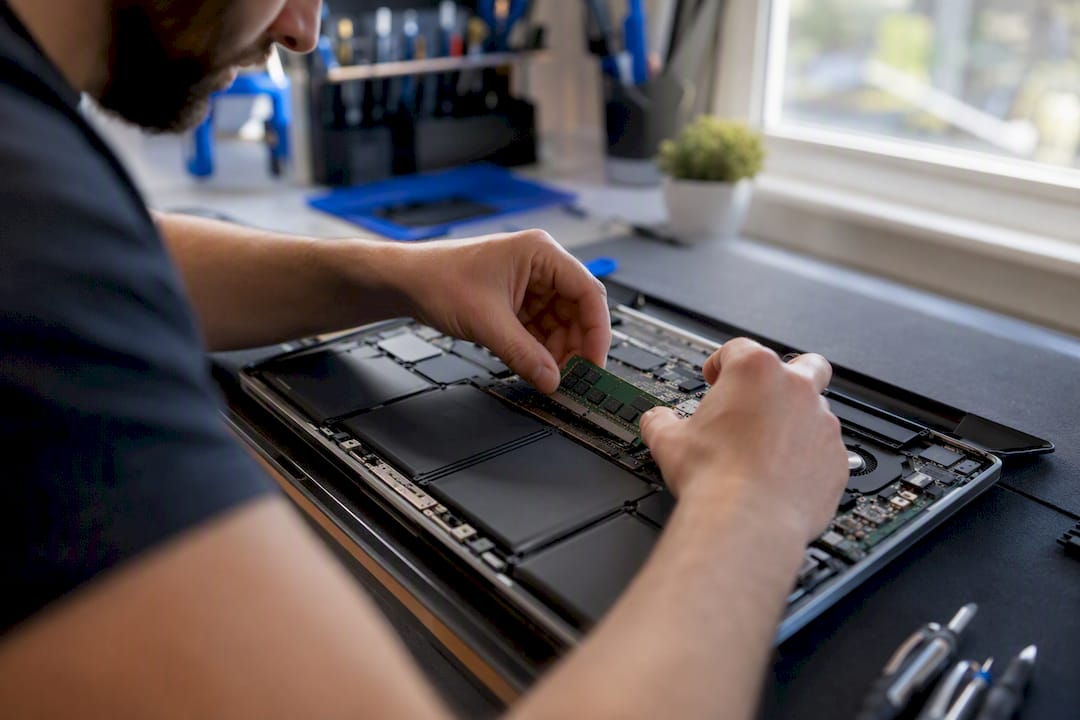
The most common customer mistakes we see: interrupting a BIOS update because it “looked frozen,” charging with an off-brand adapter that can’t supply enough current, and not remembering what happened right before the laptop stopped booting. That last detail matters more than people think. It usually points straight to the cause.
My Honest Take: The Three Checks That Actually Matter
If you only have ten minutes, do three things: power-drain the laptop for a full 30 seconds, disconnect every external device, and try an external monitor. Those three catch the majority of simple no-boot cases I’ve seen, because they eliminate the causes people overlook, residual charge, a rogue USB stick, and a screen that was never actually the problem.
Everything past that, the bootrec sequence, chkdsk, UEFI diagnostics, is worth trying, but only after you’ve backed up whatever data you can still reach. A dead boot sequence is annoying. A dead boot sequence plus lost photos is a genuinely bad day.
— Michael
Get Your Laptop Diagnosed On-Site Today
Repair Genius sends a certified technician to your home or office in Orlando or Winter Park the same day, so you skip the drop-off counter and the week of waiting that comes with a typical repair shop.

That matters most for a no-boot laptop, because every hour it sits untouched is an hour you’re locked out of files you might need. On-site diagnostics cover the full range this guide walks through: power and battery testing, RAM and drive checks, BIOS recovery, and bootloader repair, all handled with data-safe protocols and a quote you approve before any work begins. If the diagnosis points to a failed part, we carry common replacements and back the repair with a warranty on both parts and labor.
Head to the Repair Genius homepage to book a same-day visit, or check our on-site versus repair shop comparison if you want to see exactly how the process differs before you commit.
Sources
- Windows boot issues troubleshooting — Microsoft Learn
- Troubleshooting blank screens in Windows — Microsoft Support
- Computer Cannot Boot into Windows — Dell support
- HP PCs – Computer does not turn on, start, or boot — HP Support
- Drain residual (flea) power: perform a hard reset — Dell service manual
Recommended
- Signs Your Laptop Needs Immediate Repair: 2026
- Types of Business Laptop Repairs: 2026 Guide
- Laptop Motherboard Failure: Symptoms, Causes, and Fixes
- Laptop Repair Before Replacement Checklist 2026