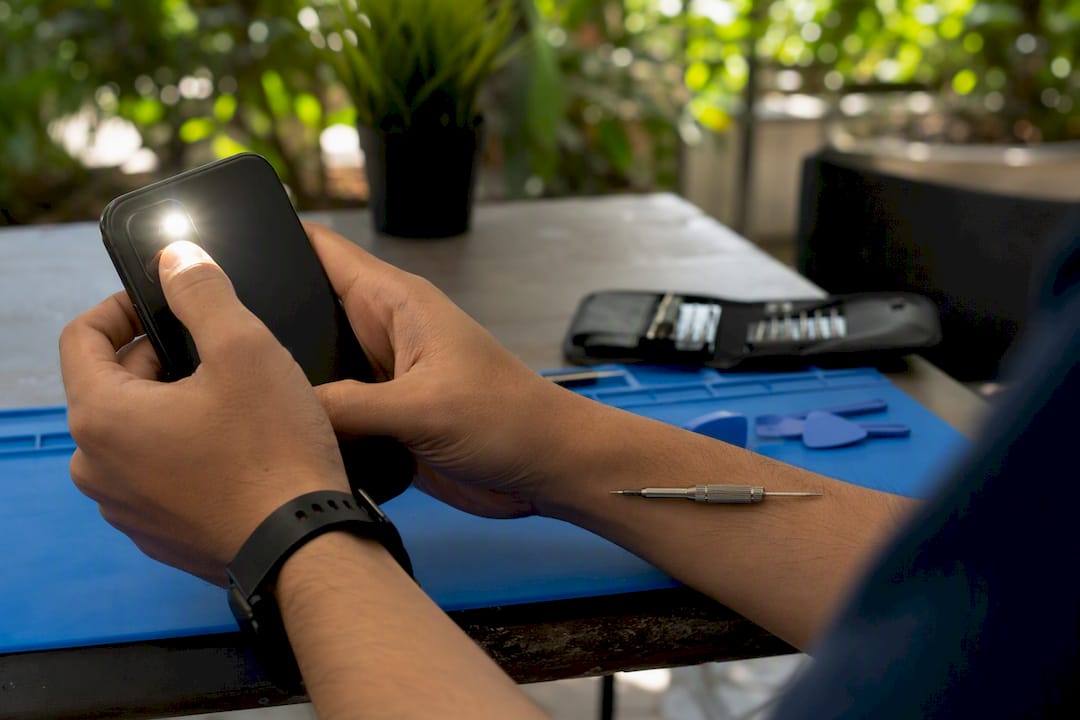
Most phone camera problems are fixable, and a good number of them cost nothing to solve. A smudged lens, a stuck app, or a case blocking the sensor causes more “broken camera” complaints than actual hardware failure. Run through a five-minute troubleshooting pass first; if the image stays black, blurry, or warped after that, it’s time for a professional diagnostic. Repair Genius handles both the diagnosis and the fix on-site, often the same day.
TL;DR:
- Most camera issues stem from simple causes like smudged lenses or blocked sensors, which can often be fixed in minutes without cost.
- Symptoms such as persistent black screens, focus problems, or color distortions after cleaning or restarting indicate a hardware fault requiring professional repair.
- Common hardware repairs include replacing the lens, rear module, focus motor, or reseating loose cables, with costs ranging from about $50 to $300.
- Professional repairs involve diagnostics to identify faults such as moisture damage, flex-cable failure, or sensor issues, and turnaround time depends on parts availability.
- Opt for certified technicians who use genuine parts, provide clear warranties, and confirm part stock to ensure reliable, same-day service at predictable costs.
Table of Contents
- Phone Camera Troubleshooting: What To Try Before You Pay For Repairs
- Signs Your Phone Camera Problem Is Hardware, Not Software
- What Happens During A Professional Camera Repair?
- How Much Does Phone Camera Repair Cost?
- How To Choose A Phone Camera Repair Provider
- The Truth About Camera Repairs Nobody Tells You
- Book On-Site Phone Camera Repair With Repair Genius
- Sources
Phone Camera Troubleshooting: What To Try Before You Pay For Repairs
Before you assume the worst, work through these steps in order. Each one rules out a specific, common cause, and most people find their answer within the first three or four.
- Wipe the lens. Use a microfiber cloth, not a shirt sleeve. Skin oil and pocket lint cause more blur complaints than any hardware fault.
- Remove the case, screen protector overhang, or any magnetic mount. Thick cases and poorly cut protective film block the lens edge just enough to cause hazy shots or dark corners.
- Restart the phone and let it charge fully, then test the camera again. A surprising share of glitches clear after a simple reboot.
- Check camera app permissions and confirm both the OS and the app are updated. iOS and Android handle this differently, but the principle is the same: an app without camera access, or one running on outdated software, will misbehave.
- Clear the camera app’s cache on Android, or, on iPhone, check for a pending iOS update since Apple doesn’t offer a direct camera reset. Apple support walks through cleaning the lens and updating iOS as the first line of defense.
- Boot into Safe Mode and test the camera there, then try a third-party camera app. Safe Mode disables third-party apps, so if the camera works there but not normally, Pixel’s own troubleshooting guide confirms an installed app is the culprit, not the hardware.
- If the camera works in Safe Mode, uninstall the app you suspect and retest. If it still fails in Safe Mode and in a different camera app, stop here. That’s your signal to stop poking at software and get a hardware check.
Android Authority’s troubleshooting breakdown and Lifewire’s step-by-step guide both back this sequence: restart, permissions, cache, update, Safe Mode, and only then consider the problem hardware-related.
Pro Tip: Test with the flashlight/flash function too. If the flash won’t fire in any app, that often points to the same power circuit as the camera module, which narrows down what a technician needs to check first.
Signs Your Phone Camera Problem Is Hardware, Not Software
Certain symptoms almost never resolve with a restart or an app reinstall. These are the tells that point straight to a parts issue:
- A black or blank preview across every app, including the default camera and third-party apps, usually means a hardware or flex-cable connection fault.
- Blur or focus hunting that persists after cleaning and a restart often means a stuck focus actuator, a small motor that physically moves the lens.
- Wavy, jittery, or “jello” video points to optical image stabilization (OIS) failure, which typically needs a module swap since OIS problems rarely resolve on their own once the mechanism is worn.
- Purple, pink, or green color casts, visible condensation, or specks of dust and debris under the glass all indicate something physical got inside the housing.
- Any of these symptoms starting right after a drop or water exposure is close to a confirmed hardware link, not a coincidence.
If you notice your phone camera has stopped focusing and cleaning didn’t help, treat it as a hardware case rather than cycling through more software fixes.
What Happens During A Professional Camera Repair?
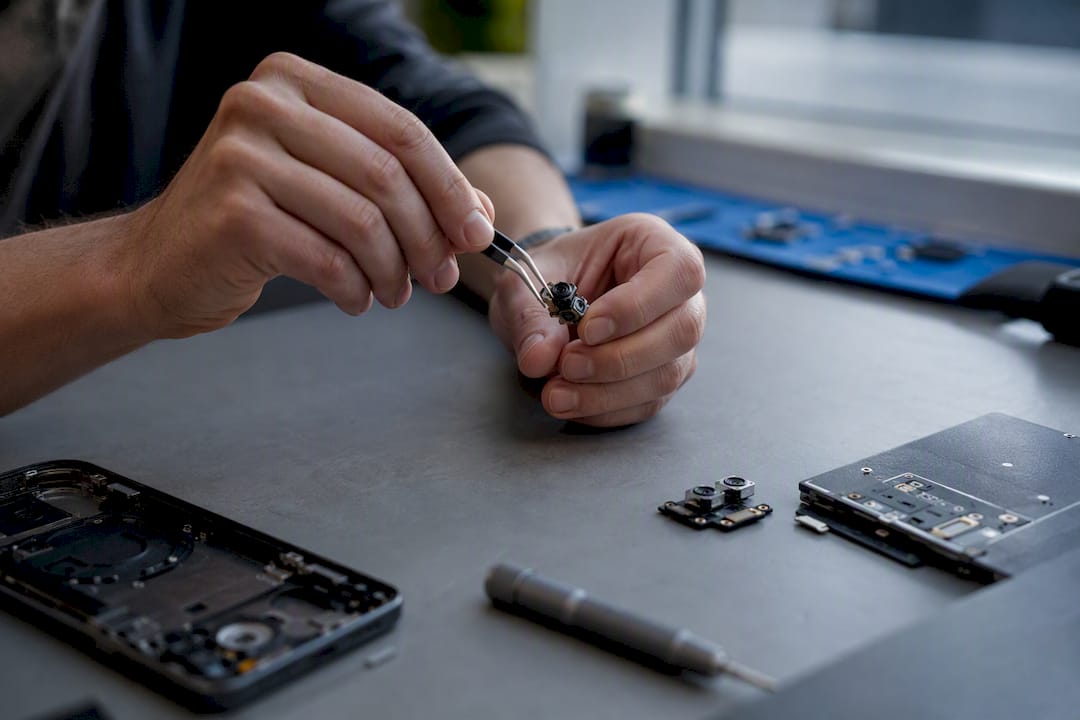
A legitimate repair shop starts with a diagnostic, not a guess. Technicians open the phone or run internal diagnostics to confirm whether the fault is a bent flex cable, a failed actuator, moisture damage, or a genuinely dead sensor, and they should quote parts and labor before touching anything further.
Typical repairs break down into a few categories:
- Lens or glass cover replacement when the outer glass is cracked or scratched but the sensor underneath is fine.
- Full rear camera module replacement when the sensor, lens assembly, or focus mechanism has failed.
- Focus motor or OIS replacement for stabilization failures, distinct from a full module swap in some models.
- Flex-cable reseating for connection faults that mimic a dead camera but are really a loose cable.
- Moisture cleaning after minor liquid exposure, sometimes enough to restore function without new parts.
- Board-level microsoldering for faults tracing back to the logic board itself, the most involved and most expensive repair category.
Turnaround depends heavily on parts availability. Glass swaps and module replacements are often same-day work when the part is in stock, a trust signal worth checking before you book, since many repair providers advertise free diagnostics and same-day service as a standard.
Look for certified technicians, verified or genuine parts, and a written parts-and-labor warranty. Apple explicitly warns that nongenuine camera parts can cause both performance and safety problems, which is exactly why part sourcing matters more than price alone. When the phone is old enough that a module replacement approaches the cost of a used replacement device, a straight technician will tell you that upfront rather than push the repair anyway.
How Much Does Phone Camera Repair Cost?
Pricing tracks the scope of the repair, and it varies by model and part availability:
- Lens or glass cover replacement: roughly $50 to $120 in most cases, the most common and least expensive camera fix.
- Rear camera module or OIS replacement: roughly $100 to $300 or more, depending on the phone model and local labor rates.
- Board-level microsoldering: priced individually, generally the most expensive and time-consuming option since it involves specialist equipment and diagnostic time.
Same-day service depends entirely on whether the part is already in stock. If it needs to be shipped in, expect an added 2 to 7 business days. Always get a written estimate before work starts, and confirm whether the number quoted includes parts, labor, and the warranty period, or just one of the three. If the estimate creeps close to what a used replacement phone would cost, ask the shop to walk you through that comparison directly.
How To Choose A Phone Camera Repair Provider
Not every repair shop operates the same way, and the difference shows up fastest when something goes wrong after the fact. Work through this list before you hand over your phone:
- Ask where the parts come from. A shop that can’t explain part sourcing, genuine, OEM-equivalent, or aftermarket, is one to walk away from.
- Get the warranty terms in writing, including length and exactly what it covers (parts only, or parts and labor both).
- Ask how your data is handled during the repair. On-site repair keeps the device at your location the entire time, which sidesteps the question of where your phone travels while it’s out of your hands.
- Confirm turnaround time and whether the part is already in stock, since that single detail determines same-day service versus a multi-day wait.
- Watch for red flags: no written warranty, vague answers about parts, pressure to add unrelated services, or a refusal to explain what they’re actually doing to the phone.
Pro Tip: Ask the technician to show you the failed part once it’s removed. A shop confident in its diagnosis will show you exactly what went wrong; a shop that won’t is one worth reconsidering.
For anyone comparing certified repair options more broadly, the same checklist applies across phones, tablets, and laptops.
The Truth About Camera Repairs Nobody Tells You
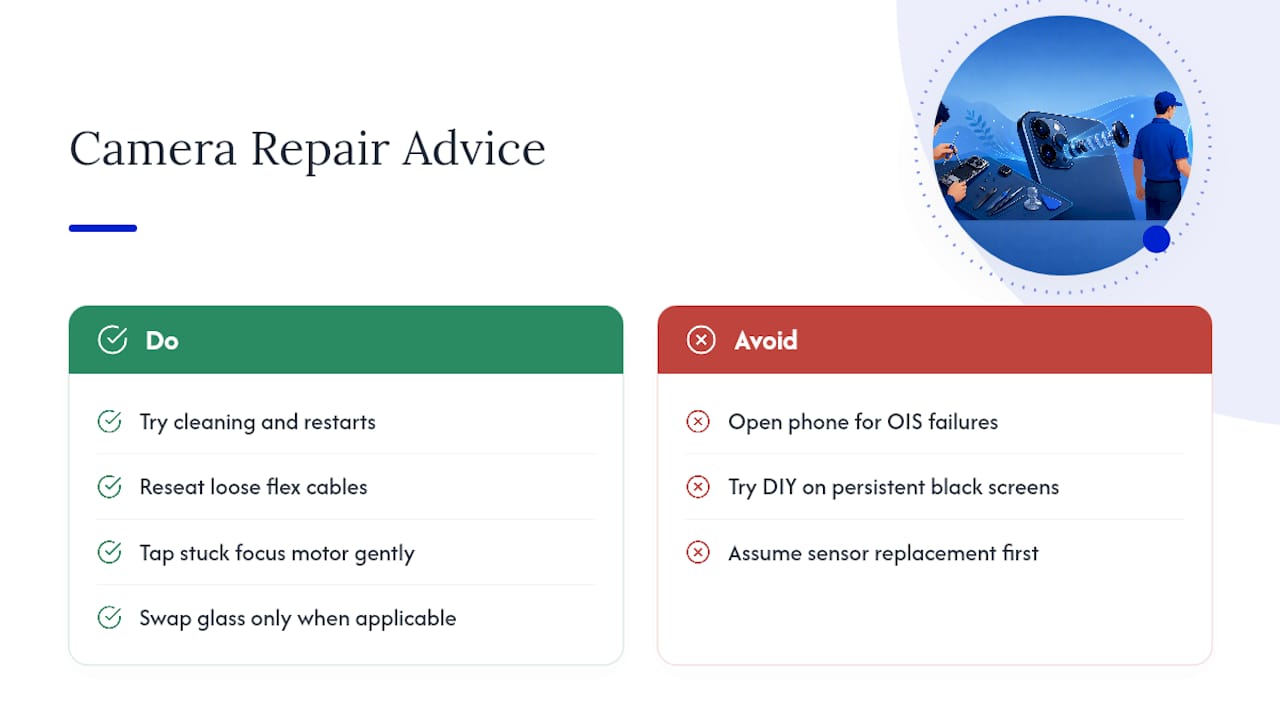
The myth that every camera failure means a new sensor gets repeated constantly, and it’s mostly wrong. A large share of the camera repairs technicians see are glass-only swaps, loose flex cables that just need reseating, or a stuck focus motor that responds to a gentle tap rather than a full module replacement.
DIY cleaning and restarts are worth trying every time, they cost nothing and fix plenty. But once symptoms point to OIS failure or persistent black screens, opening the phone yourself risks turning a $100 fix into a $300 one. That’s the line where professional care earns its cost.
— Michael
Book On-Site Phone Camera Repair With Repair Genius
Repair Genius skips the drop-off-and-wait model entirely: a certified technician comes to you in Orlando or Winter Park, runs the diagnostic in front of you, and handles glass swaps or module replacements on the spot when the part is in stock, often the same visit.

Pricing is quoted upfront, with no surprise add-ons once the phone is open, and every repair carries a parts-and-labor warranty. Because the work happens at your location, your device never leaves your sight, which matters if you’re worried about photos, banking apps, or saved passwords during a repair.
To book, have your phone model, the specific symptoms, and any recent drop or water exposure ready when you call or book online. Back up anything irreplaceable beforehand, and if a warranty claim is involved, keep your proof of purchase handy. Start your on-site repair booking today and get a real diagnostic instead of a guess.
Sources
- Fix your Camera app on your Pixel phone or tablet – Pixel Phone Help
- About genuine iPhone cameras
- Android camera not working? Here’s how you can try to fix it – Android Authority
- 13 Ways to Fix It When the Camera Isn’t Working on an Android Phone – Lifewire
Recommended
- At Home Phone Repair: DIY vs. Professional Options
- Why Phone Cameras Stop Focusing: Fast Fixes and When to Get Help
- Phone Repair with a Limited Budget: Smart Fixes That Last
- Laptop Charging Port Repair Steps: DIY Guide