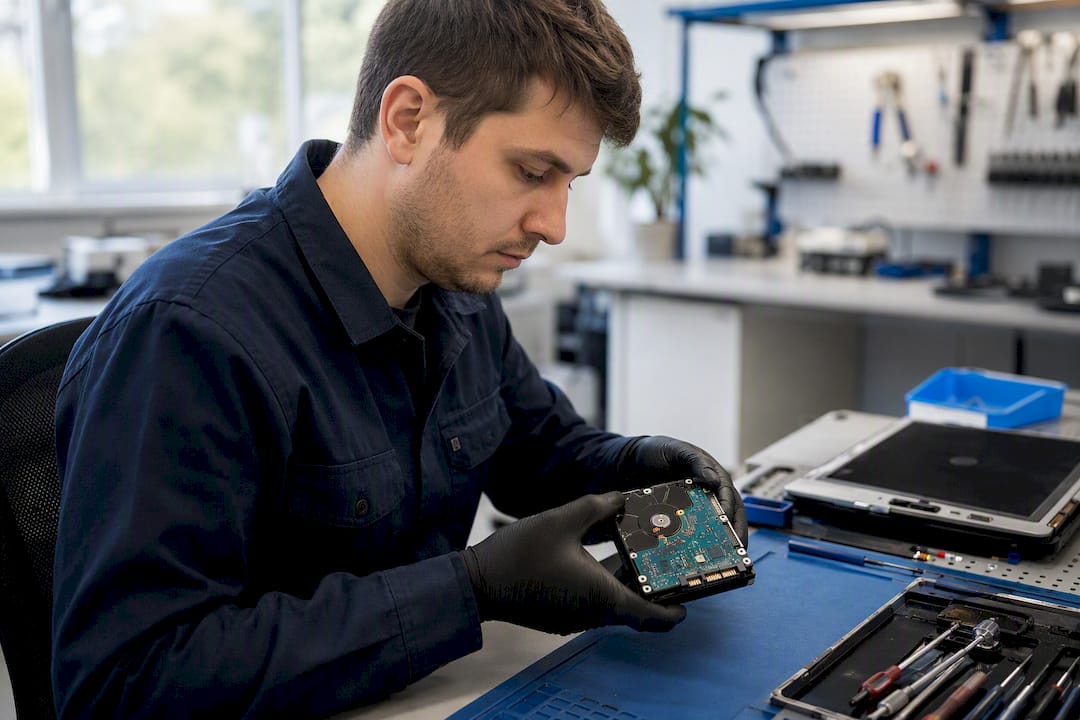
The rule that matters more than any other: protect the data before you touch the hardware. If the drive is still readable, back it up or image it before running any fix. If the drive is clicking, grinding, or smells burnt, stop touching it and power it down.
Everything else depends on the symptom:
- No power at all: check the outlet, cable, and battery before assuming the worst.
- No display but fans spin (no-POST): reseat RAM and check for beep codes.
- Clicking or grinding from the drive: power off immediately and don’t restart it.
- Overheating or random shutdowns: clean the vents, but stop if the smell is electrical.
Before you open anything or ship a device out, take two minutes to photograph the unit and pull up your warranty status. A 2024 industry write-up on failing hard drives notes that continued power cycling on a clicking drive is one of the fastest ways to turn a recoverable problem into a permanent one.
Key Takeaways
Protecting your data before touching hardware, correctly identifying mechanical versus logical failures, and choosing a provider with a binding quote are what separate a cheap fix from an expensive mistake.
| Point | Details |
|---|---|
| Data comes first | Image or back up a readable drive before attempting any repair or software fix. |
| Know your failure type | Clicking means mechanical, silence means possible motor or board failure, RAW filesystem means logical. |
| Stop at hard-stop symptoms | Clicking, grinding, burning smell, or no BIOS detection means power off and call a professional. |
| Demand a binding quote | Choose providers offering flat quotes after diagnostic instead of open-ended hourly billing. |
| Consider on-site convenience | Repair Genius offers same-day, on-site diagnostics in Orlando and Winter Park with transparent pricing and a data-safety focus. |
Table of Contents
- Diagnosing Computer Hardware Repair Needs in Minutes
- Safe DIY Fixes for Computer Hardware Repair (And What Not to Touch)
- When Should You Stop DIY and Call a Repair Professional?
- On-Site Repair vs. Mail-In vs. Local Shop: Which Fits Your Problem?
- What Does Computer Hardware Repair Typically Cost?
- How to Choose a Computer Hardware Repair Provider
- Preventive Steps That Cut Down Future Repair Needs
- Why Most Hardware Advice Skips the Part That Actually Matters
- Getting Computer Hardware Repair Done Right, Without Leaving Your Home
- Frequently Asked Questions
- Sources
Diagnosing Computer Hardware Repair Needs in Minutes
Every hardware failure falls into one of three buckets: mechanical, electronic, or logical. Sorting which one you’re dealing with tells you immediately whether a keyboard shortcut will fix it or whether you need a professional.
Clicking or grinding almost always means mechanical failure. The read/write head can’t park or seat correctly, and every additional power-on risks scratching the platter. Silence with no spin usually points to a dead motor or a fried circuit board. If the drive spins, sounds normal, and the BIOS sees it but the operating system reports the wrong file format or a “RAW” partition, you’re looking at a logical problem. That’s the good news scenario: software caused it, and software can often fix it.
Here’s a low-risk order of operations:
- Check BIOS or UEFI to confirm the drive is even detected.
- Reseat RAM sticks and any loose cables (SATA, power, ribbon).
- Pull SMART data with a free utility to check reallocated sector counts and reported health.
- Swap in a known-good power cable or RAM stick if you have spares.
- Note whether symptoms change after each step before moving to the next.
Pro Tip: Write down what you did and in what order. If you end up calling a technician, this timeline cuts diagnostic time significantly.
Safe DIY Fixes for Computer Hardware Repair (And What Not to Touch)
Some fixes are genuinely safe for anyone comfortable with a screwdriver. Others will turn a $150 repair into a $600 data recovery bill.
Start with the boring stuff, because it works more often than people expect:
- Fully power down, unplug for 30 seconds, then restart (a real power cycle, not a reboot).
- Reseat RAM sticks in different slots and test one stick at a time if you suspect a bad module.
- Confirm every power connector and data cable is fully seated, not just close.
- Clean dust from fans and vents with compressed air, holding fans still so they don’t spin freely.
- If the drive is readable, image it first with a tool like ddrescue before running any repair utility.
- Only after imaging, run TestDisk or PhotoRec on the clone, and use
chkdskon the copy, never the original failing drive.
That last sequence matters. Guidance on failing hard drives is blunt about it: software tools can repair logical file-system errors, but they cannot fix a mechanically failing drive, and running chkdsk directly on a dying disk can accelerate the damage instead of preventing it.
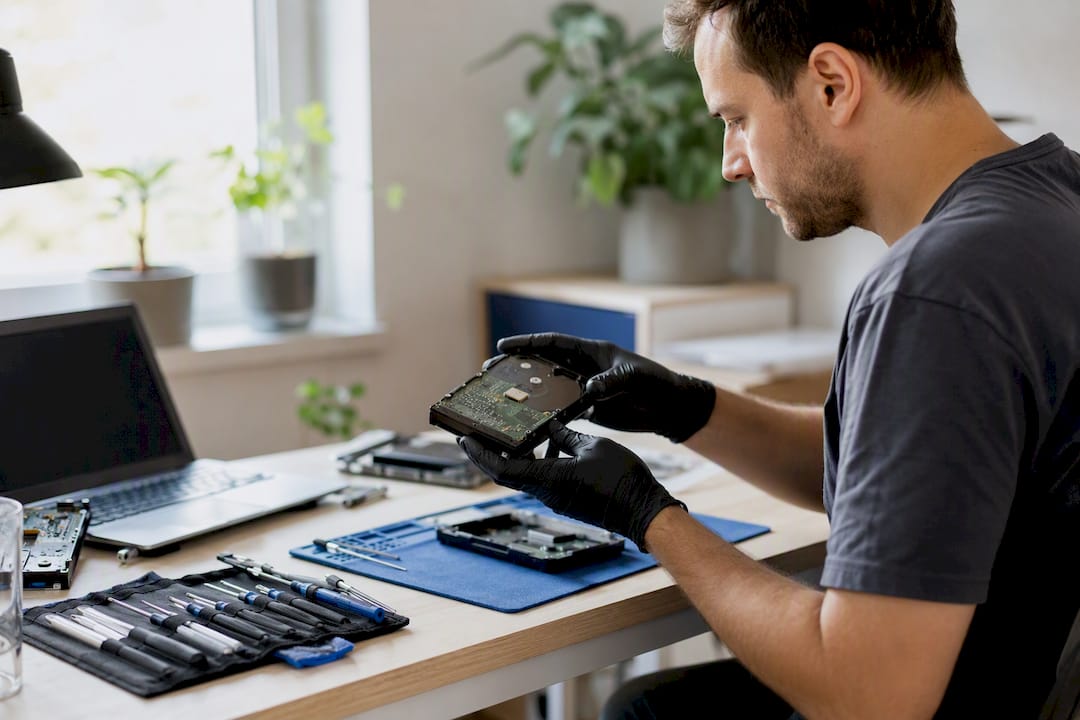
Now the hard limits. Don’t run intensive scans or repeated recovery attempts on a drive that’s making noise. Don’t open a sealed drive enclosure outside a cleanroom. Don’t attempt a PCB swap on a hunch. Modern drives store calibration data tied to the specific board, so a mismatched replacement board usually fails and can trigger a head crash. And skip the freezer trick entirely. It’s internet folklore, not a fix.
Pro Tip: If you’re unsure whether an issue is software or hardware, check our guide on common repair mistakes before attempting anything invasive.
When Should You Stop DIY and Call a Repair Professional?
Some symptoms are your cue to put the screwdriver down entirely. Clicking, grinding, a burning smell, or a drive that simply refuses to show up in BIOS no matter what you try. Powering that drive on again “just to check” is the single most common way people turn a recoverable failure into a total loss.
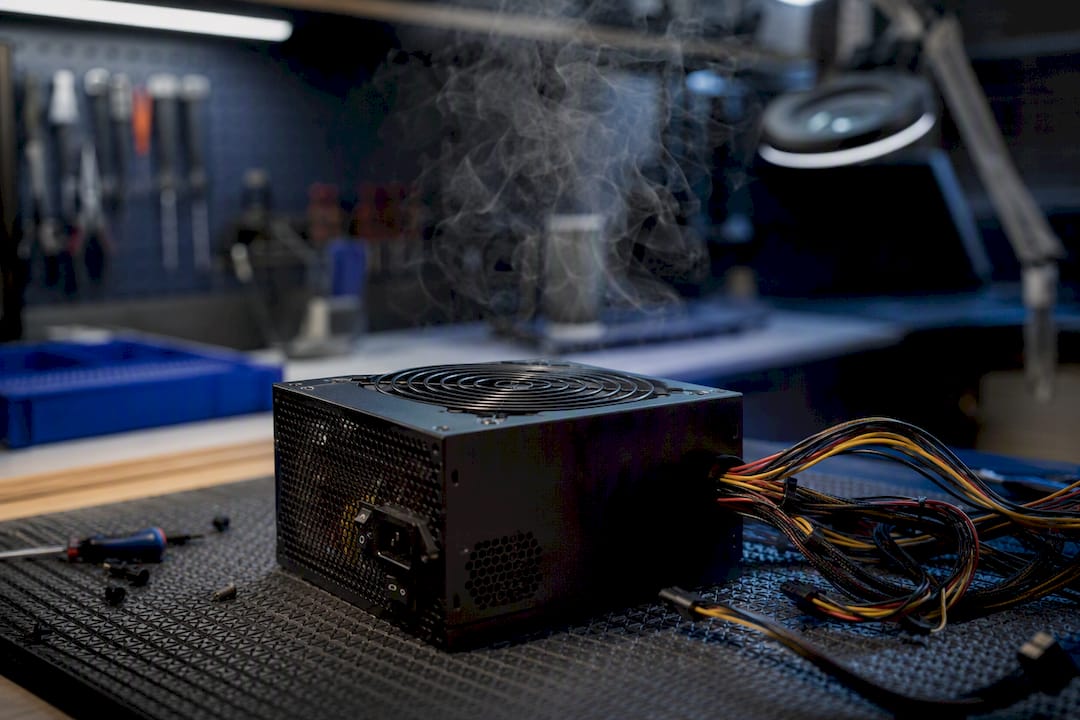
A clicking drive usually means the head assembly can’t initialize properly, and every additional power cycle risks contact with the platter surface. At that point, the fix isn’t software. It’s a cleanroom environment and equipment like a PC-3000, tools that exist specifically for physical head swaps and controlled imaging that a home setup can’t replicate.
Before you contact a professional, gather:
- The device’s serial number and purchase date.
- Any warranty or extended coverage documentation.
- A written timeline of symptoms and what you already tried.
- Photos of the device, especially any physical damage.
Handing over this information upfront often shaves a full diagnostic cycle off the timeline.
On-Site Repair vs. Mail-In vs. Local Shop: Which Fits Your Problem?
Not every repair path fits every problem, and picking the wrong one wastes both time and money.
- Manufacturer or mail-in service makes sense if the device is still under warranty and the issue is a known defect. You get OEM parts and covered labor, but expect shipping delays and, in most cases, the fine print says your data isn’t their responsibility.
- Local shops and dedicated data-recovery labs fit two very different jobs. Shops handle routine hardware swaps quickly. Labs handle drives that clicked or won’t spin, and they typically work from a flat quote rather than an hourly rate.
- Retail or authorized service desks are solid for predictable, repeatable fixes: a battery, a cracked screen, a known part number.
- On-site repair wins on convenience and speed for common hardware issues like RAM upgrades, screen swaps, and diagnostics, since the technician comes to you and the drive never leaves your sight. Read more on how on-site repair compares to shop drop-off for a deeper breakdown.
Institutions like Cornell’s IT department separate warranty work from non-warranty work for exactly this reason: the right path depends on coverage status, not just the symptom.
What Does Computer Hardware Repair Typically Cost?
Costs vary by severity, part availability, and whether data recovery is involved, but rough ranges help you sanity-check any quote.
- Diagnostic fees typically run low, and many providers waive them if you proceed with the repair.
- Simple part swaps (RAM, a battery, a keyboard) tend to land in the low hundreds of dollars, parts included.
- Screen and battery replacements vary by device but usually sit in a similar range.
- A straight HDD or SSD swap is often one of the cheaper repairs, since the part itself is inexpensive.
- Data recovery from a mechanically failed drive is the outlier. It requires specialized equipment and cleanroom conditions, which is why labs quote it separately.
Reputable data-recovery labs commonly offer a free evaluation up front and a firm flat-rate quote before any work begins, often under a “no data, no charge” policy. That protects you from an open-ended bill on a job that might not even succeed. Turnaround runs from same-day for straightforward part swaps to two to seven business days for standard repairs, and multiple weeks for complex recoveries or backordered OEM parts.
How to Choose a Computer Hardware Repair Provider
Ask these questions before you hand over a device:
- Is the diagnostic fee refundable or applied toward the repair?
- Is the quote binding once given, or just an estimate?
- What’s covered under warranty, and for how long?
- What’s your data policy? Do you image drives, and do you keep them on-site?
- What’s the realistic turnaround for this specific issue?
- Are replacement parts OEM, and where do they come from?
Red flags are easy to spot once you know what to look for: no written quote, hourly billing with no cap, or a technician who tells you to “just keep trying to boot it” on a drive that’s already clicking.
The trust signals run the opposite direction. Look for a binding quote after diagnostic, a warranty on both parts and labor, technicians with documented credentials, and a website where you can actually book and see reviews rather than just a phone number.
Pro Tip: If a shop won’t commit to a flat quote after diagnosis, ask why. A reputable provider has already priced this repair a hundred times before.
Preventive Steps That Cut Down Future Repair Needs
A handful of habits prevent most of the failures covered above:
- Automate backups weekly, and do a full image monthly if the device holds anything critical.
- Clean vents and fans every few months to prevent heat-related shutdowns.
- Check SMART status periodically. Rising reallocated sector counts are an early warning, not something to ignore.
- Charge batteries in moderate temperature ranges, and avoid leaving devices in a hot car.
- A lightweight monitoring tool like Tempered can flag performance drift before it becomes a hardware failure.
Why Most Hardware Advice Skips the Part That Actually Matters
Most hardware guides lead with troubleshooting steps and treat data as an afterthought, something you’ll deal with “if it comes to that.” That ordering is backward. By the time a reader realizes their drive is failing, they’ve often already run three or four repair attempts that made recovery harder, not easier.
The conventional advice also oversells DIY. Reseating RAM and cleaning fans is genuinely useful, and most people can do it safely. But the internet is full of confident nonsense about PCB swaps and freezer tricks that sound clever and mostly end in total data loss. If there’s one thing worth arguing against here, it’s the idea that a hardware problem is always a puzzle to solve yourself before you “give up” and call someone. Sometimes the smartest move is the first move: image it, stop, and call.
What actually deserves priority is boring by comparison: know your symptom category, know when to stop, and pick a provider who’ll commit to a number before touching your device. That’s not exciting advice, but it’s the difference between a $150 fix and a $600 mistake.
Getting Computer Hardware Repair Done Right, Without Leaving Your Home
Repair Genius brings the technician to you in Orlando and Winter Park, which matters most for exactly the scenarios covered above: RAM upgrades, screen and battery swaps, diagnostics, and drive replacements where you want eyes on your device the entire time instead of shipping it off.

Repair Genius runs every job on transparent, upfront pricing and a data-safety-first process, meaning your files stay yours throughout the repair. Same-day diagnostics mean you’re not waiting a week just to learn what’s wrong. If your symptoms match the “safe to attempt” list above, you can also read the full breakdown of laptop repair categories to see what’s typically fixable versus what needs deeper attention. If you’re past DIY territory, schedule a diagnostic through the Repair Genius service page and get a clear quote before any work begins.
Frequently Asked Questions
Can a clicking hard drive be fixed with software?
No. A clicking sound means the read/write head is failing to initialize mechanically, which software can’t repair. Powering the drive on repeatedly increases the risk of permanent data loss, so the correct step is to power it down and seek professional or lab recovery.
How much does computer hardware repair typically cost?
Simple part replacements like RAM or a battery generally run in the low hundreds of dollars including parts. Data recovery from a mechanically failed drive costs more and is usually quoted separately after a free evaluation, since it requires specialized cleanroom equipment.
Is it safe to run chkdsk on a failing hard drive?
Not on the original drive. Running repair utilities directly on a failing disk can worsen the damage. The safer approach is to image the drive first with a tool like ddrescue, then run any repair software on the cloned copy instead.
What’s the difference between on-site repair and taking my device to a shop?
On-site repair brings a technician to your location for diagnostics and common fixes like screen swaps, RAM upgrades, and battery replacement, so your device and data never leave your sight. Shops and labs are better suited for problems requiring specialized equipment, like a mechanically failed drive.
What should I ask before hiring a computer hardware repair service?
Ask whether the diagnostic fee is refundable, whether the quote is binding, what the warranty covers, how they handle data during the repair, and where replacement parts are sourced. Clear answers to all five are a strong sign you’re dealing with a reputable provider.
Sources
- How to Fix Hard Drive Failure: Honest Guide | MDRepairs
- PCB replacement guide | DonorDrives
- Hard Drive Repair Services | Free Evaluation, No Data No Charge
- Data recovery cost guidance | Thumbtack
- Computer Hardware Repair | IT@Cornell
Recommended
- Laptop Repair Before Replacement Checklist 2026
- Signs Your Laptop Needs Immediate Repair: 2026
- Is Your Damaged Phone Worth Fixing? A Clear Guide
- How to Transfer Contacts Before Phone Service