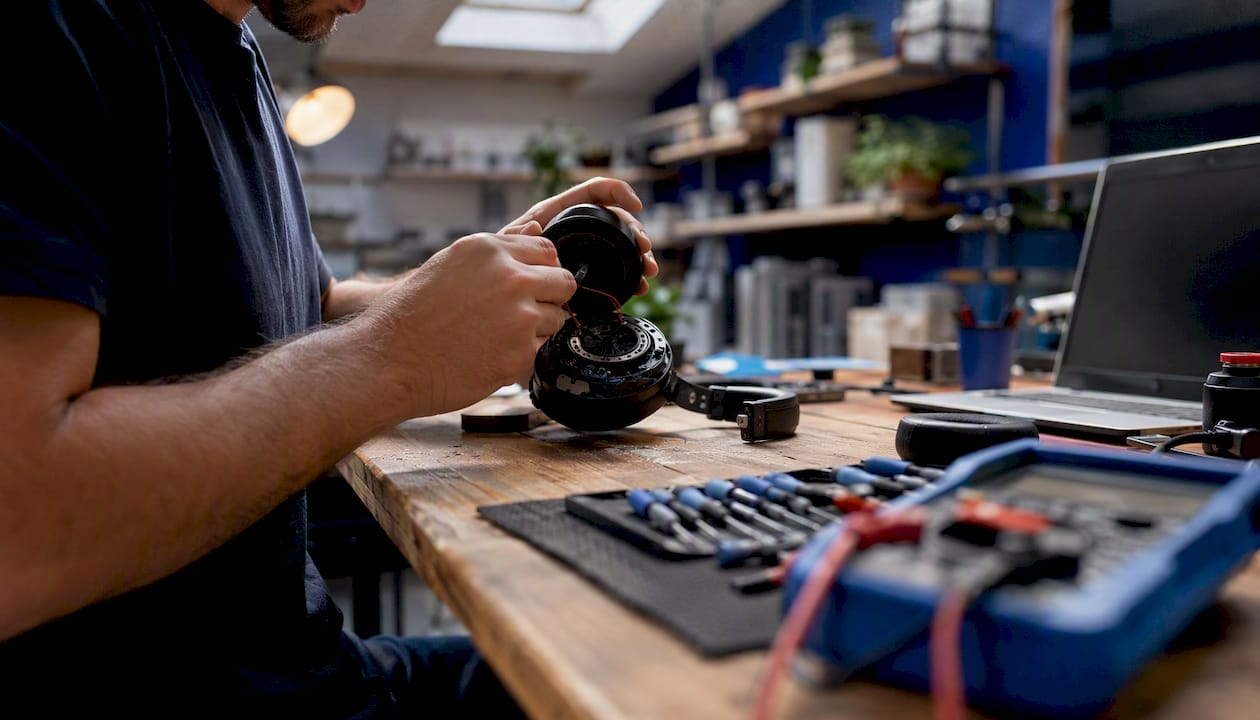
Yes, most headphone problems are fixable. Whether you grab a soldering iron or call a technician depends on three things: what broke, what the headphones are worth, and how comfortable you are with small electronics work.
Here’s a fast triage to decide your next move:
- Test first, repair second. Plug into a different device, swap the cable if it’s detachable, and check your audio balance settings. A surprising number of “broken” headphones just have a software glitch or a loose connection at the source.
- Identify the fault. Cable frays, jack damage, worn earpads, and dead batteries on wireless models are all DIY-friendly. Driver failure or a fried PCB board usually isn’t.
- Run the $100 rule. Professional repair is generally worth it for headphones valued over about $100; below that threshold, repair labor and parts can easily exceed what a replacement costs.
Common consumer headphone fixes typically run $30–$70, though complex driver or board repairs push well past that. If your headphones cost $50 new, a $45 repair quote is a red flag. If they cost $350, that same quote is a bargain.
Key Takeaways
Most headphone faults are repairable, and the decision between DIY and professional service comes down to fault type, device value, and your comfort with a soldering iron.
| Point | Details |
|---|---|
| Use the $100 rule | Headphones worth over $100 are generally worth professional repair; below that, costs can exceed replacement value. |
| DIY-friendly faults | Cable frays, jack damage, worn earpads, and user-replaceable batteries are the highest-success DIY repairs. |
| Common repair costs | Professional fixes for typical faults run $30–$70; complex driver or board repairs cost significantly more. |
| Check warranty first | DIY repair typically voids manufacturer warranty; confirm coverage before opening the headphones. |
| Repair Genius on-site | Orlando and Winter Park readers can book same-day on-site diagnosis and repair with transparent pricing and a parts-and-labor warranty. |
Table of Contents
- What headphone faults can actually be repaired?
- How to repair headphones yourself: step-by-step for the most common fixes
- What are your options for professional headphone repair?
- How do you choose the right repair provider?
- What does an on-site repair visit actually look like?
- Repair Genius brings same-day headphone repair to you in Orlando
- Sources
What headphone faults can actually be repaired?
Most failures fall into one of two buckets: mechanical damage you can see and touch, or internal failures that require specialized equipment. Knowing which bucket you’re in sets realistic expectations before you spend a dollar.
Cable and jack damage (easy to moderate)
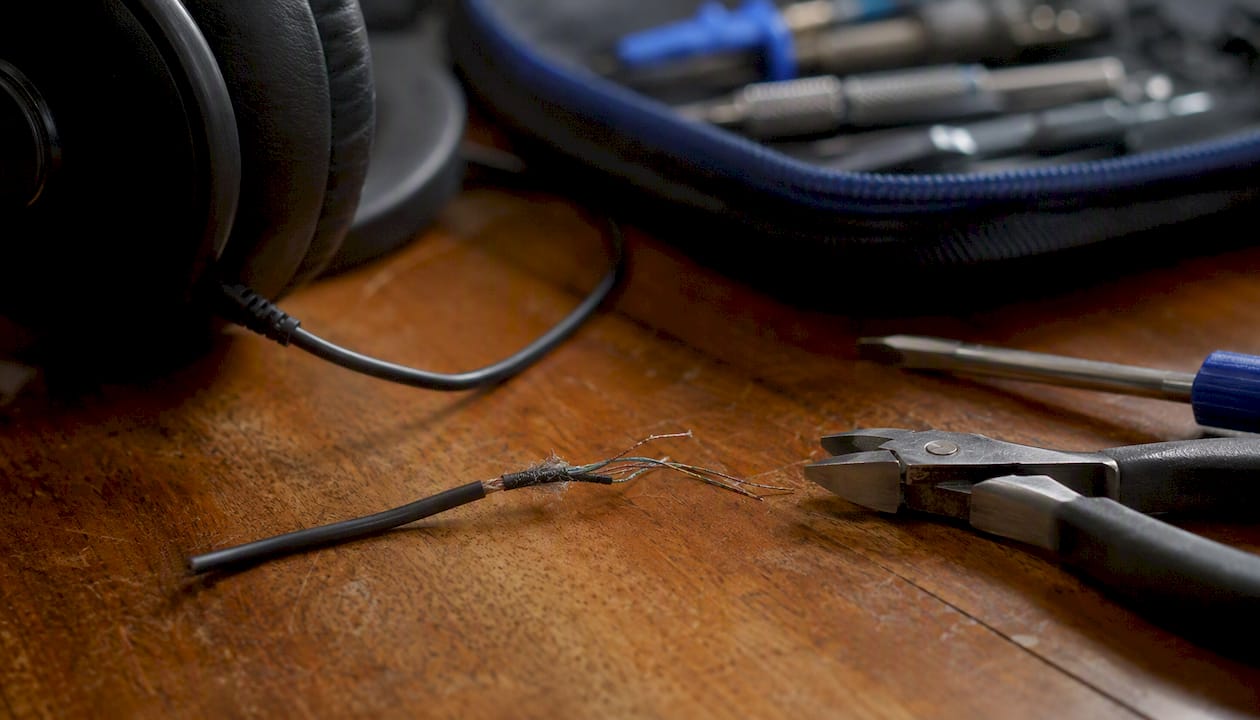
Broken 3.5mm jacks and frayed cables are the most common headphone faults by a wide margin. Cable strain at the jack or earcup connection is where the wire flexes thousands of times and eventually gives out. These are DIY-friendly repairs with the right tools and a steady hand. Typical consumer repair costs for common fixes fall in the $30–$70 range, making a professional fix economical for mid-range and premium models.
Worn earpads and headband hinges (easy)
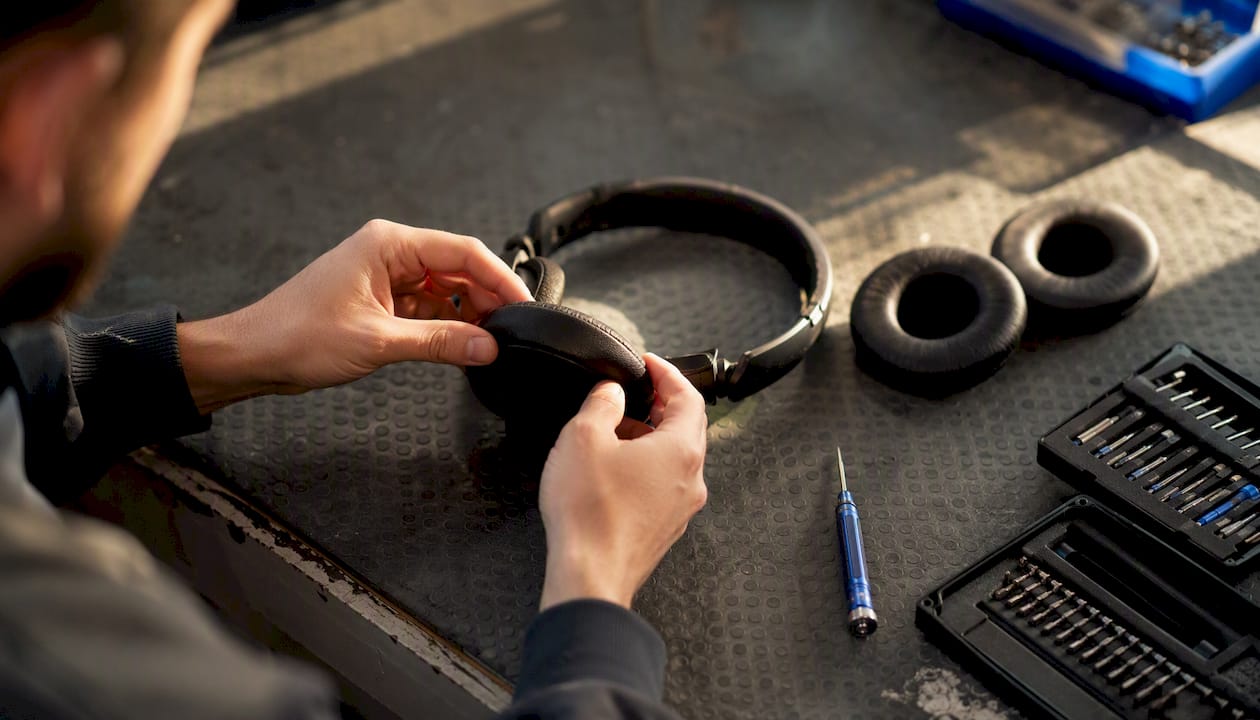
Earpads compress and crack over time. Replacing them on most over-ear models takes five minutes and a compatible set of pads. Headband hinges on models like Beats or Sony are more involved but still manageable with the right screwdriver set. One caveat: replacing earpads with generic foam can alter the acoustic seal and affect noise-canceling performance, so OEM-spec pads preserve the original sound tuning.
Dead battery in wireless headphones (moderate)
User-replaceable batteries on wireless models like certain Bose and Sony units are straightforward swaps. Batteries soldered directly to the board require more skill and carry a safety risk if mishandled. Check your model’s iFixit teardown page before committing.
Driver failure and PCB damage (difficult)
A driver that produces no sound, distorted output, or a channel imbalance that survives every cable and device swap is likely failed internally. Board-level faults are similar. These repairs need factory parts and diagnostic equipment that most DIYers don’t own. For headphones valued under $100, replacement is usually the smarter call. For premium models, a manufacturer service center or a specialist shop is the right route.
Warranty note: DIY repair on any of the above will typically void the manufacturer warranty. Check whether your headphones are still under warranty from Bose, Sony, Beats, or another brand before opening them up. Manufacturer service preserves coverage; a screwdriver does not.
How to repair headphones yourself: step-by-step for the most common fixes
Start with non-destructive checks before touching a tool. Wiggle the cable near the jack while audio plays. Switch to a different source device. Check mono/stereo balance in your audio settings. If the fault disappears with a different cable, you need a cable swap, not a solder job.
Tools and materials you’ll need
- Soldering iron (25–40W with a fine tip)
- Wire strippers and flush cutters
- Heat-shrink tubing (assorted sizes)
- Rosin-core solder
- Multimeter or ohmmeter
- Replacement 3.5mm plug (TRS or TRRS, depending on your headphones)
- Sandpaper (fine grit, for enamel wire prep)
- Alligator clip test leads
Practical guides also recommend having sandpaper on hand for wire prep and careful wire-matching during soldering. Pick up a replacement plug kit at any electronics shop or online.
Step-by-step: replacing a 3.5mm headphone jack
- Cut the cable cleanly about 2 inches above the damaged plug.
- Slide a piece of heat-shrink tubing onto the cable before you do anything else. (Forgetting this step means disassembling the whole repair to add it later.)
- Strip the outer jacket back about 1.5 inches to expose the individual conductors.
- Strip each conductor’s insulation back about 3mm. The TRS connector maps tip to left, ring to right, and sleeve to ground — but color codes vary by manufacturer, so verify each wire with your multimeter before soldering.
- Tin each wire and the solder lugs on the replacement plug.
- Solder each wire to its correct lug. High-end headphones sometimes carry four conductors (two per channel), so confirm your wire count before buying a replacement plug.
- Test continuity with alligator clips before closing the plug housing.
- Slide the heat-shrink tubing over the joint and apply heat.
- Reassemble the plug housing and do a final audio test.
The iFixit headphone jack guide walks through the full cut-strip-tin-solder-insulate-test sequence with photos if you want a visual reference alongside these steps.
Step-by-step: repairing a frayed cable
For a mid-cable fray, cut out the damaged section, strip both ends, tin the conductors, splice and solder them together, and cover each joint with heat-shrink tubing before covering the whole splice with a larger piece. iFixit’s frayed cable guide covers splicing, tinning, and finishing for durability.
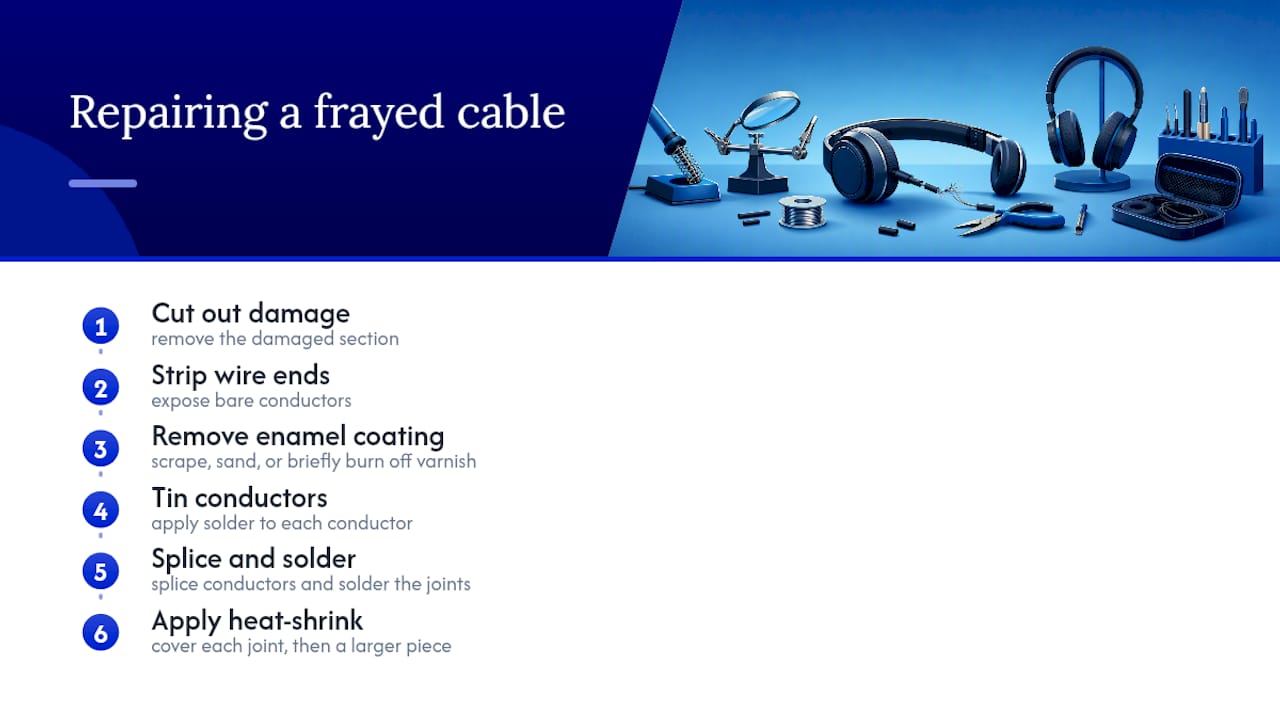
Pro Tip: Many headphone cables use enamel-coated (varnish-insulated) wire. Solder will not bond to the varnish — you must scrape, sand, or briefly burn the coating off to expose bare copper before tinning. Skipping this step produces a joint that looks fine but fails within days.
Safety precautions
- Never work on a wireless headphone battery while it’s charging.
- If a lithium battery is swollen, do not puncture or compress it. Dispose of it at a certified e-waste facility.
- Work in a ventilated space when soldering. Flux fumes are irritating.
- Keep a multimeter check as the last step before final assembly. Shorting ground to a signal wire produces distortion or silence, and catching it before closing the housing saves a full disassembly.
What are your options for professional headphone repair?
When the fault is beyond a cable swap or pad replacement, four service routes are worth considering. Each has a different cost profile, turnaround, and risk level.
Manufacturer service centers (Bose, Sony, Beats, and similar brands) are the safest option for warranty-covered repairs and for models with proprietary parts. Turnaround typically runs 1–3 weeks, and shipping is usually required. The upside is OEM parts and preserved warranty. The downside is time and the fact that out-of-warranty repairs can be priced at a premium.
Local repair shops offer faster turnaround, often same-day or next-day for cable and jack work. Quality varies widely. Ask about parts sourcing and whether the shop offers a written warranty on the repair before you hand anything over.
Mail-in specialty services handle a broader range of headphone brands and fault types than most local shops. Turnaround is typically 5–10 business days once the shop receives the device. Shipping adds cost and risk; always use a tracked, insured service and photograph the headphones before packing.
On-site repair services skip the shipping entirely. A technician comes to your location, diagnoses the fault in front of you, and completes the repair the same day when parts are available. There’s no transit risk to the device, and your audio files and paired-device data never leave your hands. For readers in Orlando and Winter Park, Repair Genius offers same-day on-site electronics repair with transparent pricing and a warranty on parts and labor.
When evaluating any professional route, look for a written diagnostic fee policy, a parts-and-labor warranty of at least 30 days, and clear communication about turnaround before you commit.
How do you choose the right repair provider?
A few direct questions separate a trustworthy shop from one that will waste your time and money.
Selection checklist:
- Certified or experienced technicians (ask how long they’ve worked on audio equipment)
- Written warranty on parts and labor
- Transparent, itemized pricing before work begins
- Realistic turnaround commitment in writing
- Data and privacy protection (relevant for wireless headphones paired to accounts)
Questions to ask before you book:
- Is there a diagnostic fee, and does it apply toward the repair cost?
- Are you using OEM parts, aftermarket, or refurbished components?
- What’s the warranty period on the repair?
- How do you test the headphones after the repair?
- For mail-in: is shipping insured, and who covers loss or damage in transit?
- Do you offer on-site service, or do I need to drop off the device?
Red flags to walk away from:
- No diagnostic step before quoting a price
- Vague estimates like “probably around $50–$100” with no breakdown
- No written warranty on the repair
- Turnaround quoted as “a few weeks” with no confirmation date
A simple script when you call: “I have [brand/model] headphones with [describe the symptom]. Can you tell me your diagnostic fee, whether it applies to the repair, what parts you’d use, and what warranty you offer on the work?” Any shop worth using answers all four questions without hesitation.
What does an on-site repair visit actually look like?
On-site repair removes the two biggest friction points in traditional service: you don’t ship the device, and you don’t wait days for a diagnosis. A technician arrives at your location, which means the headphones never leave your sight during the diagnostic phase.
A same-day on-site visit typically follows this sequence: the technician inspects the headphones visually, runs a signal test with a known-good source, identifies the fault, quotes the repair transparently, performs the work (or orders parts and schedules a follow-up), and walks you through a final test using your own audio source before leaving.
The data-safety advantage is real for wireless headphones. Paired Bluetooth profiles, account credentials stored on a connected app, and any audio files on the device stay in your physical possession throughout. No shipping label, no anonymous drop-off counter.
Pro Tip: Before the technician arrives, have the headphones charged (if wireless), note the exact symptoms (which channel, what conditions trigger the fault), and have a familiar audio track ready to use as a reference during the post-repair test. This cuts diagnostic time and confirms the fix immediately.
After the repair, expect a warranty on both parts and labor. Ask the technician to confirm the warranty period in writing and what it covers before they leave.
The repair pro’s honest take
Before any repair, I run two checks: swap the cable and test on a second device. Half the time, that’s the whole fix. No soldering, no parts, no cost.
The repair-vs-replace question is simpler than most people make it. If the headphones cost more than $100 and the fault is mechanical (cable, jack, pads, battery), repair almost always wins on cost. If the driver or board is gone on a $60 pair, buy new ones. The math doesn’t lie.
The one preventive habit that actually makes a difference: never wrap headphone cables tightly around the unit for storage. That tight loop stresses the wire at the earcup and jack entry points, which is exactly where most failures start. A loose coil or a dedicated case extends cable life significantly. Repair Genius has handled headphone and audio device repairs in Orlando and Winter Park for over 10 years, and cable strain from storage habits is the most consistent pattern we see.
Repair Genius brings same-day headphone repair to you in Orlando
Shipping your headphones to a service center takes time you may not have, and dropping them at a shop means leaving them with strangers. Repair Genius is the on-site alternative: a certified technician comes to your home, office, or wherever you are in Orlando or Winter Park, diagnoses the fault in front of you, and completes the repair the same day when parts are on hand.
Services covered include headphone jack and cable repair, battery replacement for wireless models with user-serviceable parts, hinge and headband fixes, earpad replacement, and diagnostic assessment for driver or board-level faults. Pricing is quoted upfront with no hidden fees, and every repair carries a warranty on parts and labor.
To prepare for a visit: have the device charged, write down the exact symptoms, and back up any paired-device settings if your model uses an app. Then book your on-site repair or visit Repairgeniuses to get a same-day quote.
Sources
- Headphone Repair Help: Learn How to Fix It Yourself.
- Headphone Repair Is a Thing. So Don’t Throw Out Your …
- How To Rewire A Pair Of Headphones With A Broken Audio Jack
- How To Repair Gaming Headset Plug | Repair & Replace Broken Headphone Jacks
- Hackaday
Recommended
- At Home Phone Repair: DIY vs. Professional Options
- Phone Speaker Distorted Sound: 7 Common Warning Signs
- Phone Repair with a Limited Budget: Smart Fixes That Last
- Why Your Phone Speaker Sounds Distorted or Muffled