You can replace a laptop charging port yourself in some cases, but the port type determines whether that’s a reasonable afternoon project or a fast track to a dead motherboard. Daughterboard-mounted jacks and traditional barrel/DC jacks are DIY-feasible with the right tools. USB-C ports soldered directly to the motherboard are not. That’s the short version.
Before you open anything, run through these first:
- Test a known-good charger on your laptop (HP’s troubleshooting guide confirms that many intermittent faults trace back to the adapter, not the port)
- Blow out the port with compressed air and inspect for debris
- Try a different wall outlet
- Wiggle the cable gently while plugged in and watch for a charging indicator flicker
Typical DIY time for a daughterboard swap is short. A through-hole barrel jack desolder/resolder takes longer. Professional repairs vary in cost by type of repair. One hard safety rule applies to every scenario: remove the battery before touching any internal component, and wear an ESD wrist strap.
Table of Contents
- How do you confirm the charging port is actually the problem?
- What tools and parts do you need before starting?
- Step-by-step: how to replace a barrel/DC jack
- Why USB-C charging ports are usually not a DIY repair
- Testing the replacement and reassembling safely
- How much does this repair cost, and what are the real risks?
- When should you stop and call a professional?
- How to clean your charging port before anything else
- Key Takeaways
- The repair that’s worth attempting, and the one that isn’t
- Repair Genius brings the fix to your door in Orlando and Winter Park
- Further reading and references
How do you confirm the charging port is actually the problem?
Start outside the laptop. Swap in a known-good charger first. Asurion’s diagnostic guidance lists this alongside compressed-air cleaning and a hard reset as the most effective first-line fixes, and for good reason: a frayed cable or a failing adapter mimics a dead port perfectly.
Once you’ve ruled out the charger, move to physical inspection:
- Shine a flashlight directly into the port. Look for bent pins, debris, or any visible movement of the port housing.
- Plug in the charger and wiggle the cable at different angles. Charging that cuts in and out when the cable shifts points to a solder-joint failure at the port. Charging that only works with one specific charger points to that charger.
- Check whether the port itself moves when you insert the plug. Any lateral play in the housing means the solder joints are compromised.
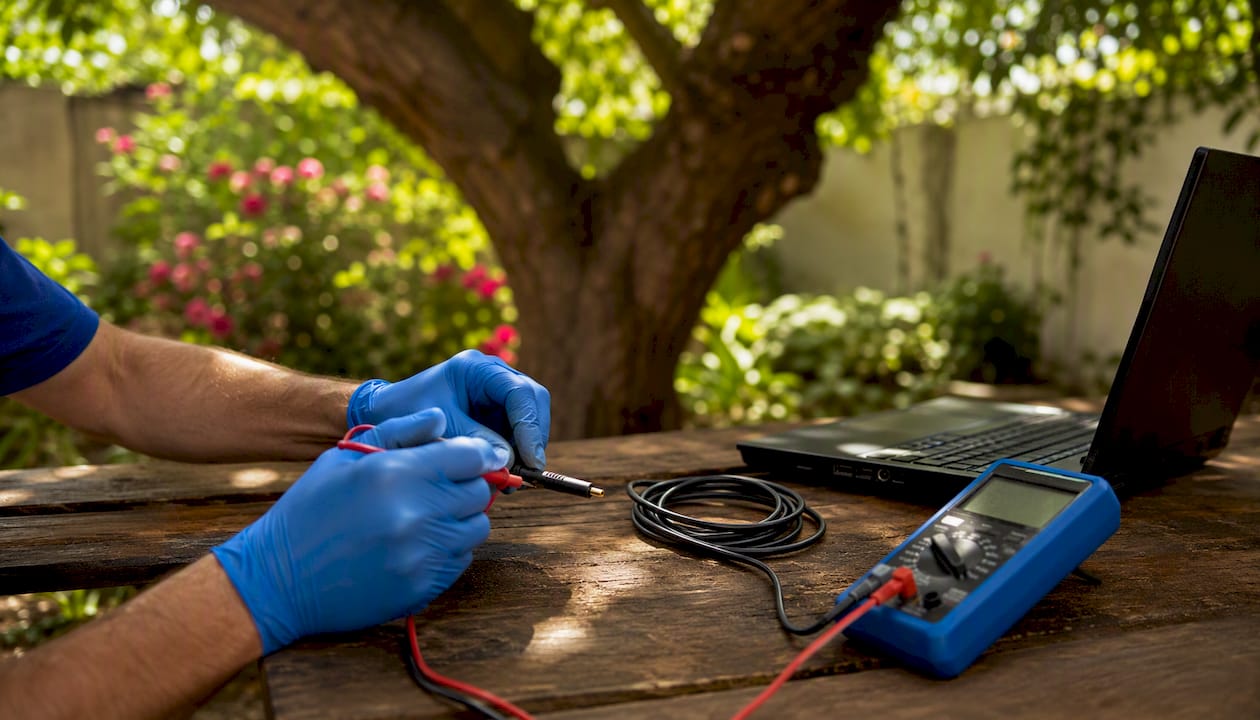
- Run a basic multimeter check: set to DC voltage, probe the charger tip (center pin positive), and confirm the adapter is outputting its rated voltage before blaming the port.
- Look for burn marks, a smell of scorched plastic, or discoloration around the port. Those symptoms suggest motherboard-level damage, not a simple jack replacement.
Pro Tip: Never try to “tighten” a loose port by pressing or prying it from outside the chassis. Technician guidance is clear: that approach aggravates solder-joint failure and can damage motherboard traces before you’ve even opened the lid.
If the multimeter shows correct voltage at the charger tip but the laptop still won’t charge, the fault may lie in the power-management IC on the motherboard rather than the port itself. That’s a professional repair regardless of port type.
What tools and parts do you need before starting?
Getting the parts right matters as much as the technique. A mismatched DC jack wattage rating can cause overheating even if it physically fits.
Tools:
- Precision screwdriver set (Phillips #0 and #1, Torx T5/T8 for many models)
- Plastic spudgers and opening picks (metal tools scratch and short traces)
- ESD wrist strap and anti-static mat
- Magnetic parts tray
- Tweezers (fine-tip, non-magnetic)
- Compressed air can
- Temperature-controlled soldering iron (for through-hole work; 350–380°C is a reliable starting range)
- Desoldering braid and flux for through-hole jacks
- Hot-air rework station if you’re attempting any surface-mount work (though USB-C surface-mount is still not recommended for DIY)
Parts: Source a model-specific DC jack assembly or daughterboard using your laptop’s exact model number and service tag. iFixit teardown guides are one of the best places to confirm part numbers and see exactly what you’re dealing with before ordering. Generic jacks from unverified sellers often carry the wrong wattage rating or slightly wrong pin dimensions.
Daughterboard-mounted charging jacks are the easiest and safest DIY path because the entire assembly unplugs from the motherboard with a ribbon or wire connector, no soldering required.
Safety before you start: Remove the battery completely. If the battery is internal and non-removable, hold the power button for 30 seconds after unplugging to discharge residual capacitor charge. Photograph every screw location and cable routing before you touch them.
Pro Tip: Magnetic breakaway adapters can reduce port failures caused by cable strain and are affordable. Fit one after the repair and you’ll likely never need this guide again.
Step-by-step: how to replace a barrel/DC jack
Confirm your port type first. If your laptop’s service manual or an iFixit teardown shows the jack connects to a separate daughterboard via a cable, follow the daughterboard path below. If the jack is soldered directly to the mainboard, you’ll need the desoldering steps.
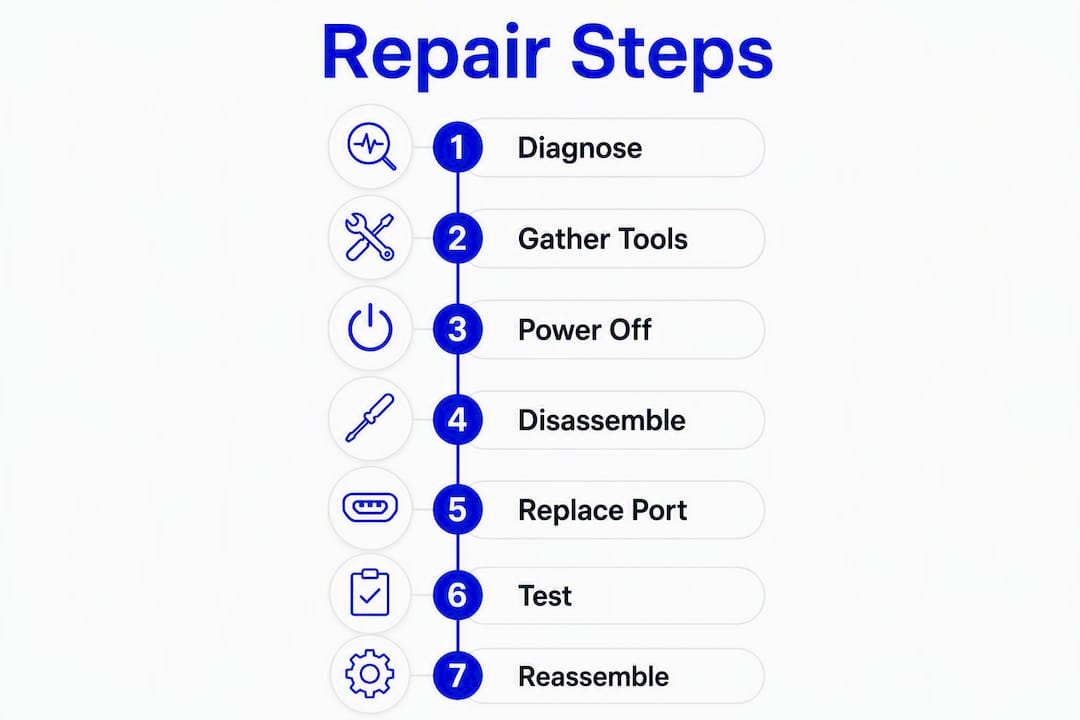
- Power off completely. Not sleep, not hibernate. Fully shut down, then unplug.
- Remove the battery. For removable batteries, release the latch. For sealed units, discharge residual power as described above.
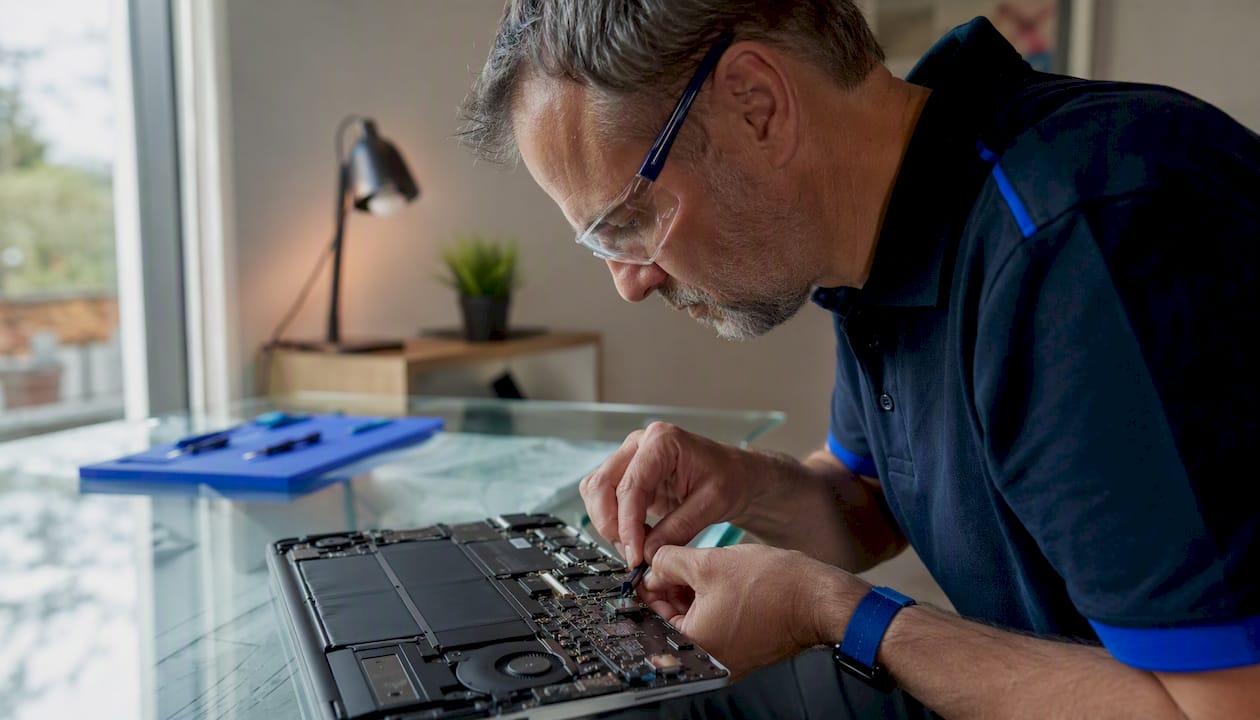
- Remove the back panel. Work around the perimeter with a plastic spudger. Place every screw in a labeled section of your magnetic tray.
- Photograph cable routing before disconnecting anything. A quick phone photo takes five seconds and saves thirty minutes of guesswork later.
- Locate the jack assembly. For a daughterboard design: gently release the ribbon or wire connector locking tab and unplug it. Unscrew the daughterboard, swap in the new one, reconnect, and skip to step 9.
- For a through-hole jack: Apply flux to each solder joint on the underside of the board. Add a small amount of fresh solder to each joint before desoldering; this lowers the melting point and helps the wick pull cleanly. Work one pin at a time with desoldering braid.
- Remove the old jack once all pins are clear. Inspect the pads for lifting. If a pad has lifted, stop and assess whether a professional rework is needed before continuing.
- Seat the new jack, tack one pin to hold position, confirm alignment, then solder the remaining pins. Use minimal solder; bridges between pins cause shorts.
- Bench-test before reassembling. Reconnect the battery, plug in the charger, and confirm the charging LED or on-screen indicator activates. Check DC voltage at the jack with a multimeter.
A documented, step-by-step approach, photographing each stage and labeling screws, cuts reassembly errors and reduces troubleshooting time significantly. Skipping documentation is the single most common reason a repair that went well on the bench fails after the chassis goes back together.
If the laptop still doesn’t charge after replacement, check solder-joint continuity with a multimeter, inspect for damaged traces near the jack, and confirm the battery itself is functional.
Pro Tip: Run a 10–15 minute charge burn-in before closing the chassis. Watch for heat, unusual smells, or an indicator that drops in and out. Catching a cold joint now costs nothing; catching it after full reassembly costs another hour.
Why USB-C charging ports are usually not a DIY repair
USB-C ports are surface-mounted components with fine-pitch pins spaced fractions of a millimeter apart.
requires a hot-air rework station, appropriate flux, microscope-level magnification, and practiced technique. Amateur attempts frequently cause permanent motherboard failure, not just a failed repair.
USB-C port repair on a laptop motherboard is effectively a no-go for non-professionals. The ports are surface-mounted with fine-pitch pins, and the power-management circuitry they connect to is unforgiving of heat errors or solder bridges. One mistake can render the board irreparable.
Safer alternatives if your USB-C port has failed:
- Check for a daughterboard design first — Some laptops route the USB-C port through a separate board that swaps out cleanly. Check your model’s service manual or iFixit before assuming motherboard-level work is required.
Pro Tip: Before booking a repair, search your exact laptop model plus “EC reset” or “embedded controller reset.” Dell, HP, and Lenovo all publish documented reset procedures that occasionally resolve USB-C charging failures without any hardware work.
Testing the replacement and reassembling safely
Before the chassis goes back together, run through this sequence:
Power-on checklist:
- Connect the charger and observe the charging LED immediately
- Check the on-screen battery indicator for a charging symbol
- Probe the jack with a multimeter (DC voltage setting) to confirm correct voltage at the connector
- Listen and smell: any buzzing, crackling, or burning odor means disconnect immediately
Burn-in test: Leave the laptop charging for 10–15 minutes with the back panel off. Watch for heat buildup around the jack, intermittent indicator drops, or any smell. A repair that passes this test is almost always solid.
Reassembly steps:
- Reconnect all ribbon cables and confirm each locking tab is seated.
- Replace the battery connector before closing the chassis.
- Return screws to their original locations using your labeled tray. Wrong-length screws in the wrong holes can puncture traces or short the board.
- Snap the back panel into place starting from one corner, working around the perimeter.
- Power on and run a full charge cycle before considering the repair complete.
If charging fails again after reassembly, the most common culprits are a displaced ribbon connector, a screw seated in the wrong hole, or a cold solder joint that passed the bench test but failed under slight mechanical stress from closing the chassis.
How much does this repair cost, and what are the real risks?
| Repair type | Typical DIY time | Professional cost range |
|---|---|---|
| Daughterboard swap | 30 minutes | $100–$120 |
| Through-hole barrel/DC jack | 1–3 hours | $75–$150 |
| USB-C micro-soldering | Not recommended for DIY | $100–$300 |
The DIY cost for a daughterboard or barrel jack is usually $15–$40 for the part itself, plus whatever tools you don’t already own. Repair is worth attempting when the laptop is otherwise high-performing and the damage is limited to a modular component or a manageable solder joint. Motherboard-level damage changes that math quickly.
Common DIY risks that end repairs permanently:
- Lifted solder pads (caused by overheating or forcing desoldering)
- Bridged traces from excess solder
- ESD damage to power-management ICs from skipping the wrist strap. A single static event can destroy these components silently.
- Voided manufacturer warranty
- Data exposure if the laptop is opened without a prior backup
When should you stop and call a professional?
Some situations make professional repair the right call from the start:
- The port is USB-C and soldered to the motherboard
- You see burn marks, broken traces, or smell scorched components
- The laptop has liquid damage history
- You have no soldering experience and the jack is through-hole
- The manufacturer warranty is still active
- You cannot source the correct replacement part
When you do hire a technician, a professional inspection should include a full diagnostic, a transparent parts-and-labor quote before any work begins, documented data-safety practices, and a warranty on the repair. Check the types of business laptop repairs that typically require professional handling if you’re unsure where your situation falls.
Pro Tip: Before the technician arrives, note your laptop’s exact model and serial number, document the symptoms (when it started, any physical incidents), back up your data, and check whether any existing warranty covers the damage. That preparation cuts diagnostic time and gets you a faster quote.
How to clean your charging port before anything else
Cleaning takes two minutes and occasionally solves the problem entirely. Debris and oxidation in the port can prevent a solid electrical connection without any mechanical damage to the jack.
- Power off the laptop completely and unplug the charger.
- Hold the laptop port-side down to let loose debris fall out under gravity.
- Use short bursts of compressed air directed into the port at a slight angle. Hold the can upright to prevent propellant discharge. Two or three short bursts are enough.
- Inspect with a flashlight. If debris remains, use a dry, non-conductive toothpick to gently dislodge it. Never use metal tools inside the port.
- For oxidized contacts, a cotton swab very lightly dampened with 90%+ isopropyl alcohol can clean the interior walls. Let it dry completely (at least five minutes) before plugging anything in.
- Plug in the charger and check the charging indicator. If it now charges reliably, the port was dirty, not damaged.
Repeat this cleaning every few months as basic maintenance, especially if the laptop is used in dusty environments or carried in a bag without a sleeve.
Key Takeaways
Cleaning and testing a known-good charger resolves most laptop charging problems without any disassembly; when hardware repair is needed, daughterboard swaps are DIY-safe, through-hole barrel jacks require soldering skill, and USB-C ports demand professional micro-soldering.
| Point | Details |
|---|---|
| Clean and test first | Compressed air, a known-good charger, and a hard reset resolve many charging faults before any disassembly. |
| Port type decides DIY viability | Daughterboard jacks are DIY-safe; through-hole barrel jacks need soldering skill; USB-C is professional-only. |
| ESD protection is non-negotiable | A single static discharge can destroy power-management ICs; always use a wrist strap and mat. |
| Professional repair cost range | Barrel/DC jack repair runs $75–$150; USB-C micro-soldering runs $100–$300 at a professional shop. |
| Repair Genius for complex cases | Repair Genius provides on-site diagnostics and charging-port repair in Orlando and Winter Park with transparent pricing and same-day options. |
The repair that’s worth attempting, and the one that isn’t
There’s a version of DIY laptop repair that makes complete sense: you’ve confirmed the charger is fine, the port wiggles, you’ve found a $20 daughterboard on iFixit, and your service manual shows a clean swap with six screws. That repair is worth doing. You’ll save $80–$100, learn something, and have the laptop back in an hour.
The version that doesn’t make sense is the one people attempt because they’ve watched a confident YouTube video about USB-C micro-soldering. The video makes it look achievable. What it doesn’t show is the $400 hot-air station, the microscope, the five practice boards, and the three motherboards that didn’t survive the learning curve. The gap between “looks doable” and “actually doable” is widest exactly where the stakes are highest.
The practical rule: if the repair requires a tool you don’t own and can’t justify buying for one job, that’s the repair you hand off. iFixit teardowns are genuinely excellent for model-specific guidance on the repairs that fall within DIY range. For everything else, a transparent quote from a certified technician is cheaper than a replacement motherboard.
Repair Genius brings the fix to your door in Orlando and Winter Park
Charging-port repairs that fall outside DIY range don’t have to mean dropping your laptop at a shop and waiting days for a callback. Repair Genius sends a certified technician directly to your location in Orlando and Winter Park, diagnoses the issue on the spot, and gives you a transparent parts-and-labor quote before any work begins.

Same-day service is available for many charging-port repairs, including barrel/DC jack replacements and USB-C micro-soldering, depending on availability. Every repair comes with a warranty on parts and labor, and data-safety practices are built into the process from the first diagnostic. Before the technician arrives, have your laptop’s model number, a description of symptoms, and a recent backup ready. That prep makes the visit faster and the quote more accurate.
Book your on-site repair or check same-day availability for your area.
Further reading and references
These sources back the guidance in this article and are worth bookmarking for model-specific work:
- iFixit: Charging port replacement answers — community teardown guidance and model-specific part sourcing; check your exact model before ordering parts
Always pull your laptop’s official service manual before buying parts. Manufacturer service manuals (often available as free PDFs from Dell, HP, Lenovo, and Asus support pages) show exact screw counts, torque specs, and cable routing for your specific model, which no general guide can replicate.
Recommended
- Laptop Repair Before Replacement Checklist 2026
- Types of Business Laptop Repairs: 2026 Guide
- Top 4 iPhone Charging Port Repair Providers 2026
- Repair vs Replace Student Laptop: 2026 Guide