Most Face ID problems are fixable without replacing any parts. Apple Support confirms that the majority of failures trace back to software glitches, dirty sensors, or environmental factors — not broken hardware. Start with a restart, a quick wipe of the TrueDepth area, and a check of your Face ID settings. If those steps don’t work, one specific Settings message tells you everything: “A problem was detected with the TrueDepth camera” or Face ID missing from Settings entirely means hardware service is required, and no amount of resetting will change that.
Here’s what to try right now before booking anything:
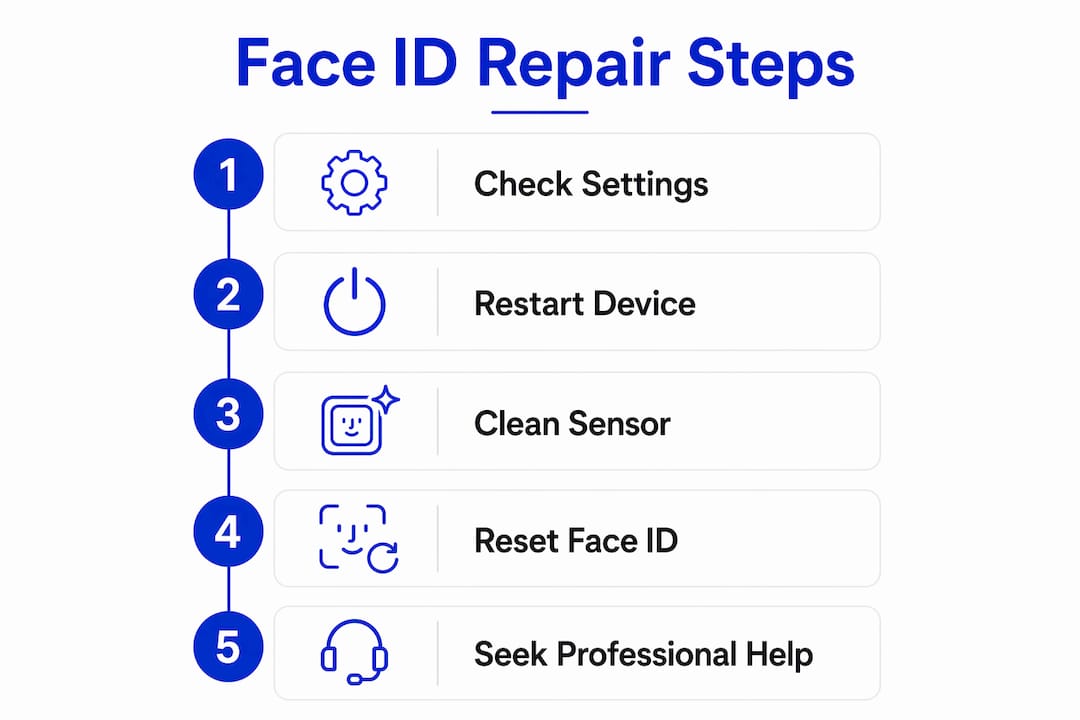
- Restart your iPhone (hold Side + Volume Down, slide to power off, then power back on)
- Go to Settings > Face ID & Passcode and confirm Face ID is toggled on for Unlock, Apple Pay, and App Store
- Wipe the TrueDepth sensor area (top of the screen, near the notch or Dynamic Island) with a dry microfiber cloth
- Remove your case or screen protector and test Face ID on the bare display
- Reset and re-enroll: Settings > Face ID & Passcode > Reset Face ID, then tap Set Up Face ID
- Update iOS: Settings > General > Software Update
Pro Tip: If you see a “Camera covered” banner at the top of your screen, that’s iOS telling you something is physically blocking the sensor. Remove the obstruction before doing anything else.
If none of those steps work and Face ID has vanished from Settings or shows a TrueDepth error, skip ahead to the hardware section. You’re past the software stage.
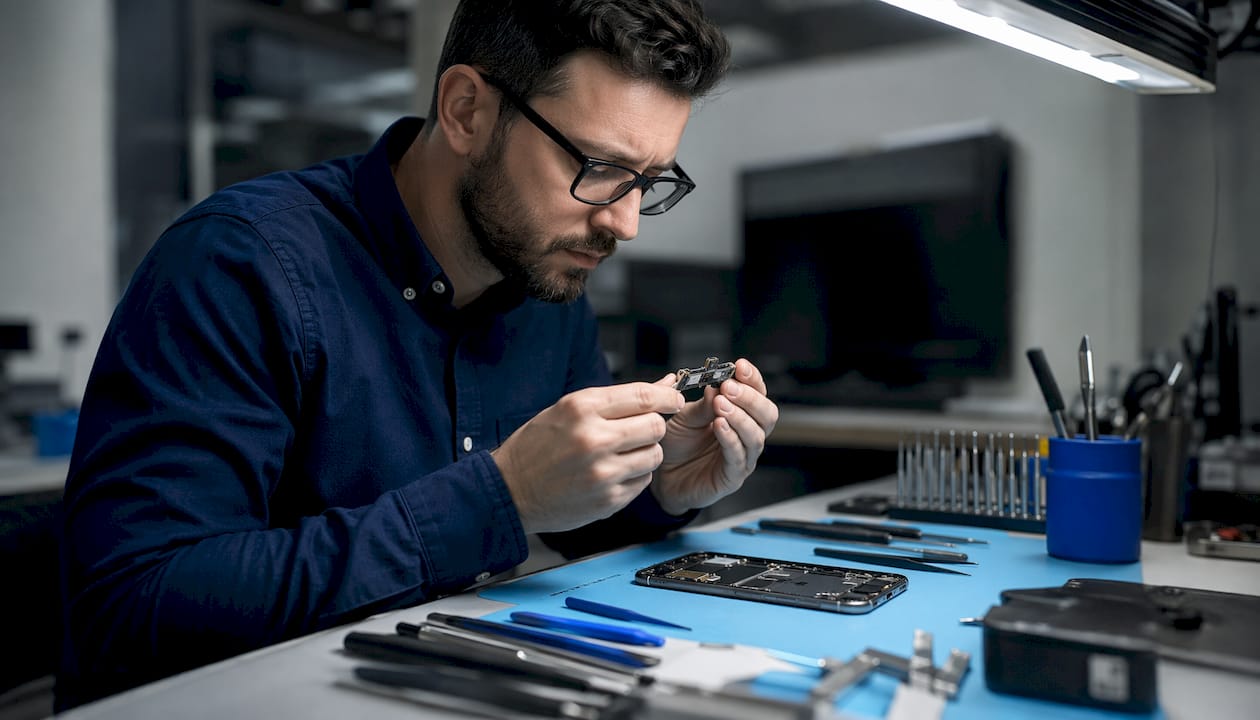
Table of Contents
- What are the quick Face ID checks you can run in 10 minutes?
- How do you reset Face ID and set up an alternate appearance?
- How can you tell if Face ID has a hardware problem?
- What does “Finish Repair” mean for Face ID after a screen replacement?
- Can you repair Face ID yourself?
- What are your repair options, and what should you expect?
- Why do so many hardware Face ID failures trace back to earlier repairs?
- Key Takeaways
- A repair pro’s note: what technicians check that you can’t see
- Repair Genius brings Face ID diagnostics to you in Orlando
- Useful sources
What are the quick Face ID checks you can run in 10 minutes?
Run these in order. Most people find their fix somewhere in the first three.
Software sequence
Open Settings > Face ID & Passcode and check that Face ID is enabled for every function you use — Unlock, Apple Pay, iTunes & App Store, Password AutoFill. It’s surprisingly common for one toggle to flip off after an iOS update. If everything looks correct, update iOS anyway. Apple regularly ships point updates that patch Face ID regressions, and running an older build is a frequent culprit.
If updating doesn’t help, do a force restart: press Volume Up, then Volume Down, then hold the Side button until the Apple logo appears. This clears temporary software states that a standard shutdown won’t touch. Still stuck? Go to Settings > General > Transfer or Reset iPhone > Reset > Reset All Settings. This resets Wi-Fi passwords and display preferences but leaves your data intact. It’s the last software step before you move to professional service.
Physical checks
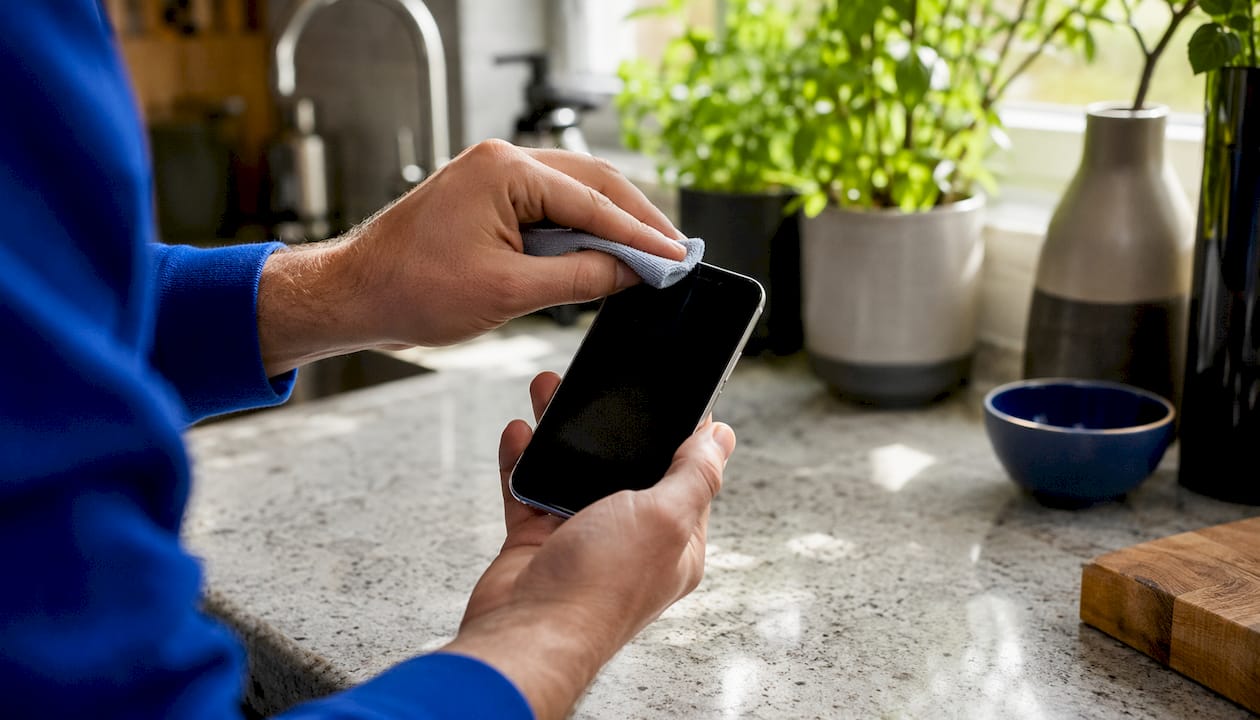
Wipe the sensor cluster with a dry microfiber cloth. Even a thin film of skin oil can scatter the infrared dots enough to cause recognition failures. Then remove your case and screen protector entirely. Thick or misaligned protectors block the infrared sensors — test Face ID on the bare display to confirm whether the protector is the issue.
Environmental checks
Hold the phone at a natural distance from your face and look directly at the camera. For iPhones older than the iPhone 13, Face ID only works in portrait orientation. Some sunglasses block infrared light, so try scanning without them. Masks can also interfere unless you’ve configured Face ID with a Mask in Settings.
If Face ID disappears from Settings or you see a TrueDepth error message after all of this, stop here and move to hardware diagnostics.
How do you reset Face ID and set up an alternate appearance?
Sometimes the fix isn’t a software bug — it’s that your face has changed enough that the stored scan no longer matches you reliably. New glasses, a beard, a significant haircut, even aging over time can push you outside the recognition envelope.
To reset and re-enroll Face ID:
- Open Settings and tap Face ID & Passcode
- Enter your passcode
- Tap Reset Face ID and confirm
- Tap Set Up Face ID
- Position your face in the frame and complete the first head-rotation scan
- Tap Continue and complete the second scan
- Tap Done
When to add an Alternate Appearance instead of resetting: If Face ID works most of the time but fails when you wear glasses or a specific hat, Alternate Appearance is the right move. It lets Face ID store a second scan without replacing the first. Go to Settings > Face ID & Passcode > Set Up an Alternate Appearance and scan yourself in the glasses or accessory that’s causing the issue.
A full reset makes more sense when Face ID fails intermittently with no obvious appearance change, or when you’ve seen an error message and want to rule out a corrupted enrollment before booking service.
Pro Tip: During enrollment, remove dark sunglasses, hold the phone at a natural selfie distance, and move your head slowly and steadily through both rotation passes. Rushing the scan produces a weaker map and leads to more recognition failures later.
How can you tell if Face ID has a hardware problem?
A few signals are definitive. When you see any of these, software resets won’t help.
| Signal | What it means | Next step |
|---|---|---|
| “A problem was detected with the TrueDepth camera” | Hardware or calibration failure | Professional service required |
| Face ID missing or greyed out in Settings | TrueDepth system not responding | Professional service required |
| “Unknown Part” in Settings > General > About > Parts and Service History | Non-genuine or uncalibrated component | Contact Apple or authorized service |
| Face ID setup loops (“Move iPhone higher/lower”) and never completes | Sensor assembly fault | Professional diagnostic |
| Face ID failed after a drop or water exposure | Physical damage to sensor module | Internal damage check, then service |
An “Unknown Part” or “Face ID issue detected” entry in Settings > General > About > Parts and Service History is particularly telling. It persists after every software reset because it’s not a software flag — it’s the device reporting a physical or pairing mismatch.
Why these signals matter: TrueDepth components are cryptographically paired to the device’s logic board. A calibration or pairing error can’t be resolved by reinstalling iOS or re-enrolling your face. The system needs official diagnostic tools to re-establish that pairing — and those tools are not available to casual users.
Face ID failing specifically after a third-party screen repair is another clear hardware indicator. The TrueDepth flex cable runs close to the display assembly, and a careless swap can damage or disconnect it without leaving any visible mark on the screen.
What does “Finish Repair” mean for Face ID after a screen replacement?
If your screen was recently replaced and Face ID stopped working, check Settings > General > About > Parts and Service History. A “Finish Repair” entry means the replacement part hasn’t completed Apple’s Repair Assistant calibration process.
Here’s what that actually means for you:
- Face ID, Apple Pay, and app authentication remain disabled until calibration completes — even if the installed screen is a genuine Apple part
- The calibration step requires Apple’s proprietary System Configuration tool, which is not available to independent shops unless they are Apple Authorized
- Attempting a second open-repair yourself to “fix” the calibration will almost certainly make things worse
The Repair Assistant requirement is not a technicality. Apple built it specifically because TrueDepth components are cryptographically paired to the device’s Secure Enclave. A new display or front camera module needs to be formally introduced to the device’s security system before Face ID can trust it.
If you see “Finish Repair,” contact the shop that performed the replacement first. If they can’t complete calibration, schedule service with Apple or an Apple Authorized Service Provider. Don’t open the phone again yourself.
Can you repair Face ID yourself?
Some steps are safe. Others will permanently disable Face ID. Knowing the line matters.
Safe DIY steps:
- Software resets, iOS updates, and re-enrollment (covered above)
- Cleaning the TrueDepth sensor area with a dry microfiber cloth
- Removing obstructive cases or screen protectors
- Checking and adjusting Face ID settings and toggles
That’s the full list. Everything beyond it carries real risk.
Opening the phone to access TrueDepth hardware is not a DIY repair. The sensor assembly is cryptographically paired to the logic board. Disconnecting and reconnecting the flex cable without the correct tools can break it permanently. Swapping the TrueDepth module from another iPhone doesn’t work — the replacement module will be rejected by the Secure Enclave and Face ID will stay disabled. This isn’t a solvable problem with patience and a screwdriver.
Microsoldering and chip-level repairs (like transferring the pairing IC from an original screen to a replacement) are technically possible in specialized micro-repair labs, but they require equipment and training that puts them firmly outside the reach of most users. For the vast majority of people, a professional diagnostic is the correct next step the moment the problem points to hardware. The common mistakes that cause repair failures almost always involve someone going further than their tools and training allow.
Pro Tip: Before sending your phone anywhere, back up to iCloud or your Mac/PC. A full backup takes 10–15 minutes and protects everything if the repair requires a restore.
What are your repair options, and what should you expect?
Four realistic routes exist, each with different trade-offs on cost, Face ID restoration likelihood, and convenience.
| Service route | Face ID restoration likelihood | Typical turnaround | Warranty on repair | Convenience |
|---|---|---|---|---|
| Apple Store / Apple Service | Highest | Same day to 3–5 days | Apple limited warranty | Requires appointment, drop-off |
| Apple Authorized Service Provider | High | Same day to 3–5 days | Apple limited warranty | More locations, similar process |
| Certified independent (with Repair Assistant access) | High if authorized | Same day | Shop warranty | Varies by shop |
| On-site repair (e.g., Repair Genius) | High for cable/connectivity issues | Same day | Shop warranty | Technician comes to you |
What actually shapes the cost and timeline:
- Whether the TrueDepth module needs full calibration vs. a cable reconnection (reconnection is faster and less expensive)
- Device model — newer iPhones have tighter tolerances and more complex assemblies
- Whether genuine parts are available locally
- Whether the repair requires logic board work (rare, but significantly more involved)
Questions to ask any repair provider before you hand over your phone:
- Will you preserve and transfer my original TrueDepth module, or replace it?
- Can you complete Repair Assistant calibration in-house?
- What warranty do you offer on the repair?
- How do you protect personal data during service — do technicians need my passcode?
That last question matters. A reputable shop will explain their data handling policy clearly. If the answer is vague, that’s a repair shop red flag worth taking seriously. For more on evaluating your options, tech repair guides can help you compare approaches before committing.
Why do so many hardware Face ID failures trace back to earlier repairs?
The pattern is consistent: a phone comes in with Face ID not working, and the owner mentions a screen replacement six months ago. Technicians report that damaged sensor flex cables and incomplete component transfers during earlier screen repairs are among the most common root causes of hardware Face ID failures.
The TrueDepth sensor flex cable runs along the top edge of the display assembly. During a screen swap, it’s easy to nick, overstretch, or fail to fully reconnect. The damage may not show up immediately — Face ID can work fine for weeks before the partially damaged cable fails under normal use.
Preserving and reconnecting the original TrueDepth assembly during a screen repair is a specialized skill. A technician who doesn’t explicitly account for the sensor module during a display swap is taking a shortcut that often costs the customer a second repair. Apple’s guidance on genuine parts and Repair Assistant calibration exists precisely because this failure mode is so common. Choosing a qualified repairer the first time is almost always cheaper than fixing the consequences of a careless one.
The iPhone screen repair process at a qualified shop should always include explicit handling of the TrueDepth assembly — if a shop can’t describe how they handle it, that’s your answer.
Key Takeaways
Most Face ID issues resolve with software steps; the single sign that requires professional service is a TrueDepth error or “Unknown Part” message in Settings.
| Point | Details |
|---|---|
| Try software first | Restart, update iOS, clean the sensor, and reset Face ID before assuming hardware damage. |
| Hardware signal to watch for | “A problem was detected with the TrueDepth camera” or Face ID missing from Settings means book service now. |
| “Finish Repair” requires calibration | Face ID stays disabled after some screen replacements until Apple’s Repair Assistant calibration completes. |
| DIY has a hard limit | Safe steps stop at software resets and cleaning; opening the phone risks permanently disabling Face ID. |
| Repair Genius | On-site diagnostic and same-day cable/connectivity repairs in Orlando and Winter Park, with transparent pricing and data-safety focus. |
A repair pro’s note: what technicians check that you can’t see
When a phone comes in with Face ID not working, the diagnostic flow isn’t random. The first check is always software — confirm the iOS version, look for error messages in Settings, and run through the reset sequence. If that clears nothing, the next step is Settings > General > About > Parts and Service History to see whether the device is flagging an unknown or uncalibrated component. That single screen often tells the whole story.
From there, it’s a visual inspection of the TrueDepth area for physical damage, followed by targeted checks on the sensor flex cable connection. In many cases, the cable has partially disconnected after a drop or a previous repair — and reconnecting it properly restores Face ID without any part replacement. That’s the best-case outcome, and it’s more common than people expect.
On data safety: back up your device before any repair visit. Repair Genius technicians aim to complete diagnostics and cable-level repairs without needing your passcode, and the goal is always to preserve your data and avoid logic-board work where possible. A good technician tells you upfront what they need access to and why.
Repair Genius brings Face ID diagnostics to you in Orlando
Booking a shop visit for a Face ID problem means taking time off, driving across town, and leaving your phone behind for hours. Repair Genius takes a different approach: a technician comes to you in Orlando or Winter Park, runs a full on-site diagnostic, and handles same-day cable and connectivity repairs where possible — all with transparent pricing and no hidden fees.

Every visit includes a thorough check of the TrueDepth assembly, clear communication about whether calibration or part replacement is needed, and a warranty on the work performed. Before the technician arrives, note any messages you’ve seen in Settings > General > About > Parts and Service History and back up your device. That preparation cuts diagnostic time significantly.
Repair Genius has over 10 years of experience with iPhones and handles everything from same-day emergency repairs to complex hardware diagnostics. To book an on-site Face ID diagnostic, visit repairgeniuses.com and schedule your appointment.
Useful sources
| Source | What it covers |
|---|---|
| Apple Support: If Face ID isn’t working | Official Apple troubleshooting steps for Face ID on iPhone and iPad Pro |
| Apple Support: Genuine iPhone front cameras | Explains TrueDepth cryptographic pairing and genuine parts requirements |
| Apple Support: Service and parts history messages | Covers “Finish Repair” and Repair Assistant calibration requirements |
| AndroidAuthority: iPhone Face ID not working fix | Explains “Unknown Part” and “Face ID issue detected” messages in Settings |
| Asurion: What to do if Face ID is not working | Environmental and positioning fixes; drop and water exposure guidance |
| Repair Genius: Why device repairs fail | Common repair mistakes including flex cable damage and improper part transfers |
| Repair Genius: iPhone screen repair process | How qualified technicians handle TrueDepth assemblies during screen repairs |
Recommended
- iPhone Screen Repair Process Explained for 2026
- iPhone Screen Repair Orlando: Signs You Need Replacement or Cleaning
- Why Device Repairs Fail: Common Mistakes Explained
- Fix Cracked iPhone Screen Near Me